
Gallery Of Homes: Agostin




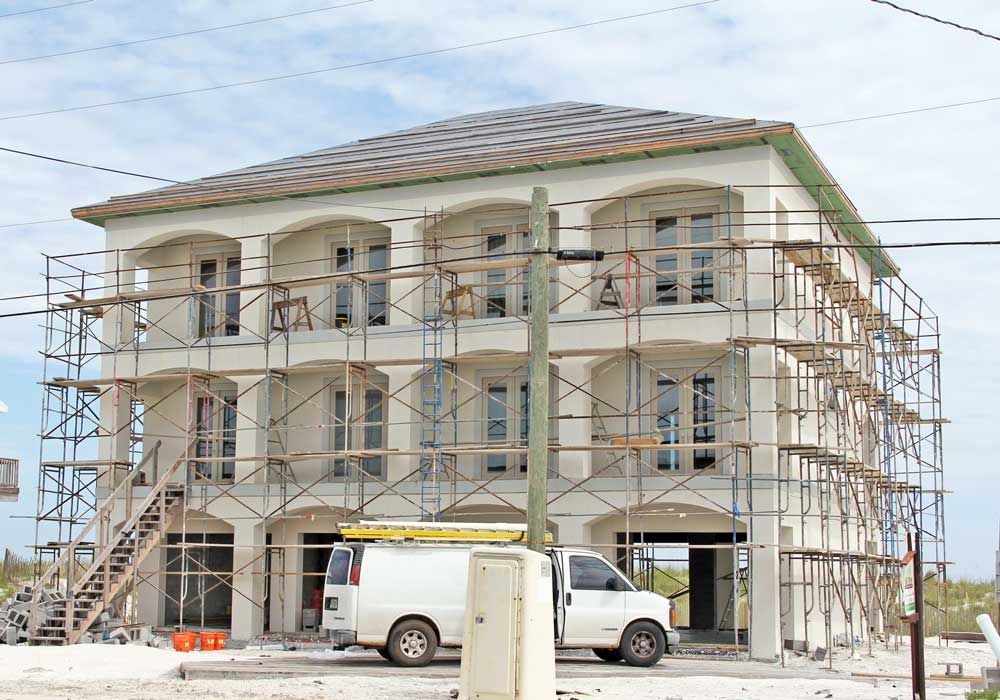
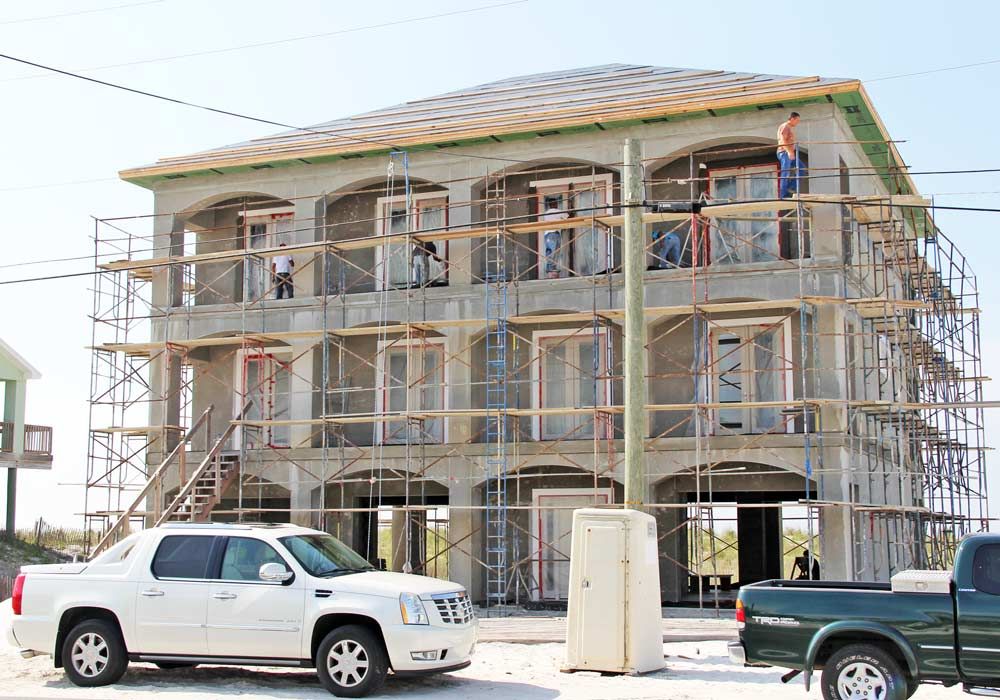
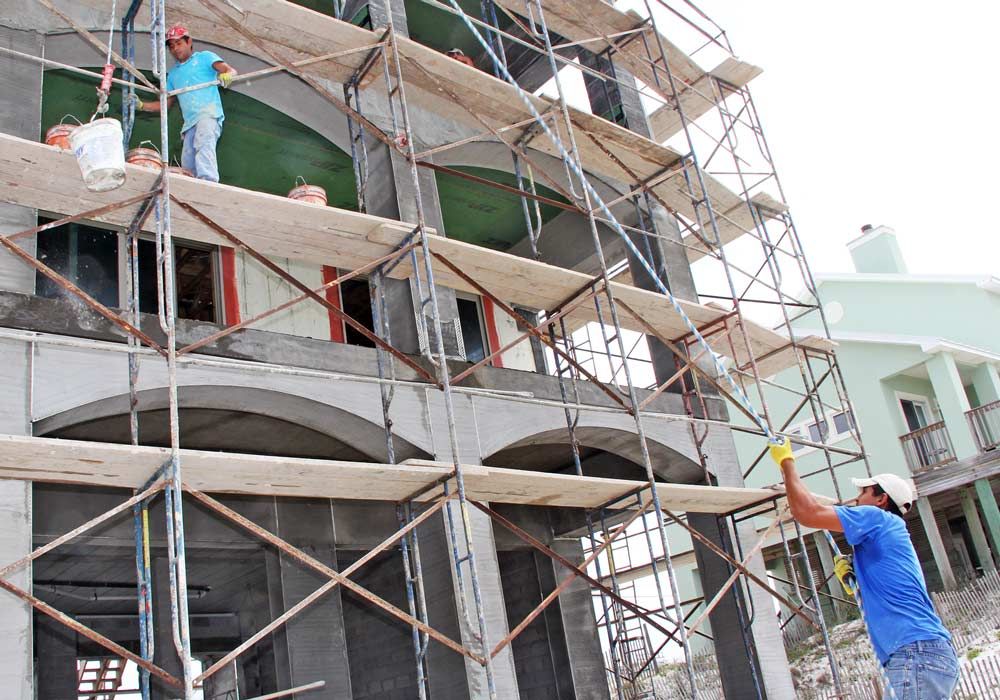
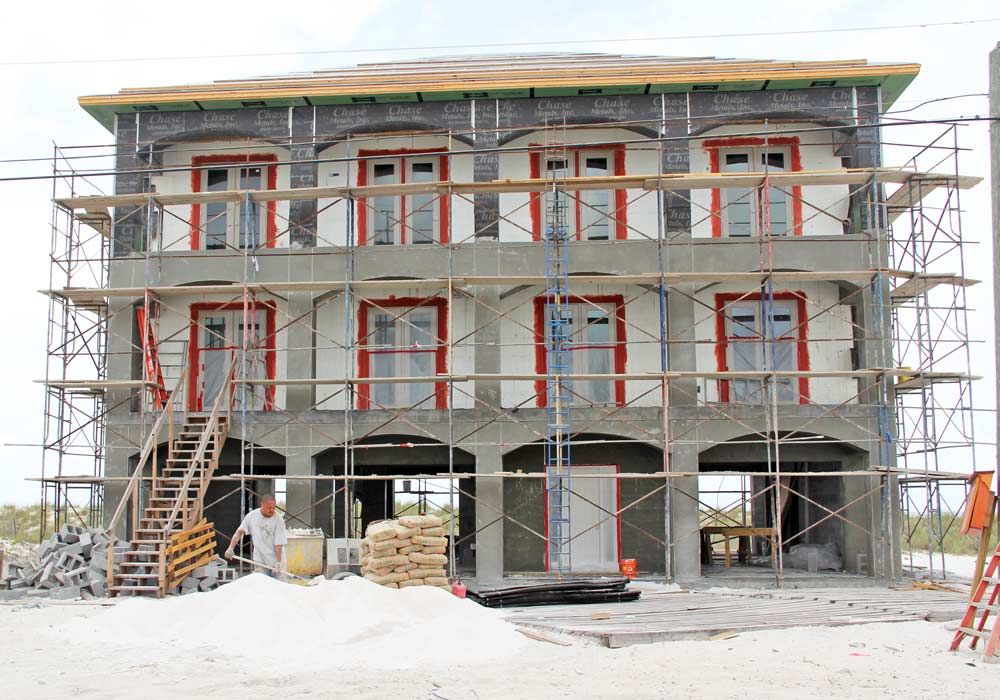
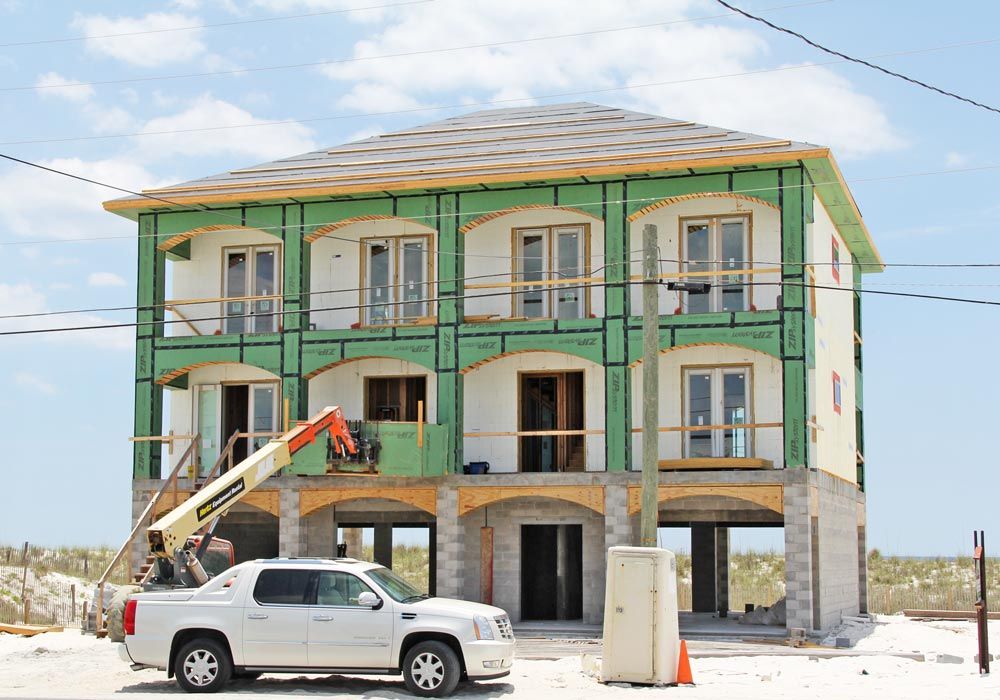


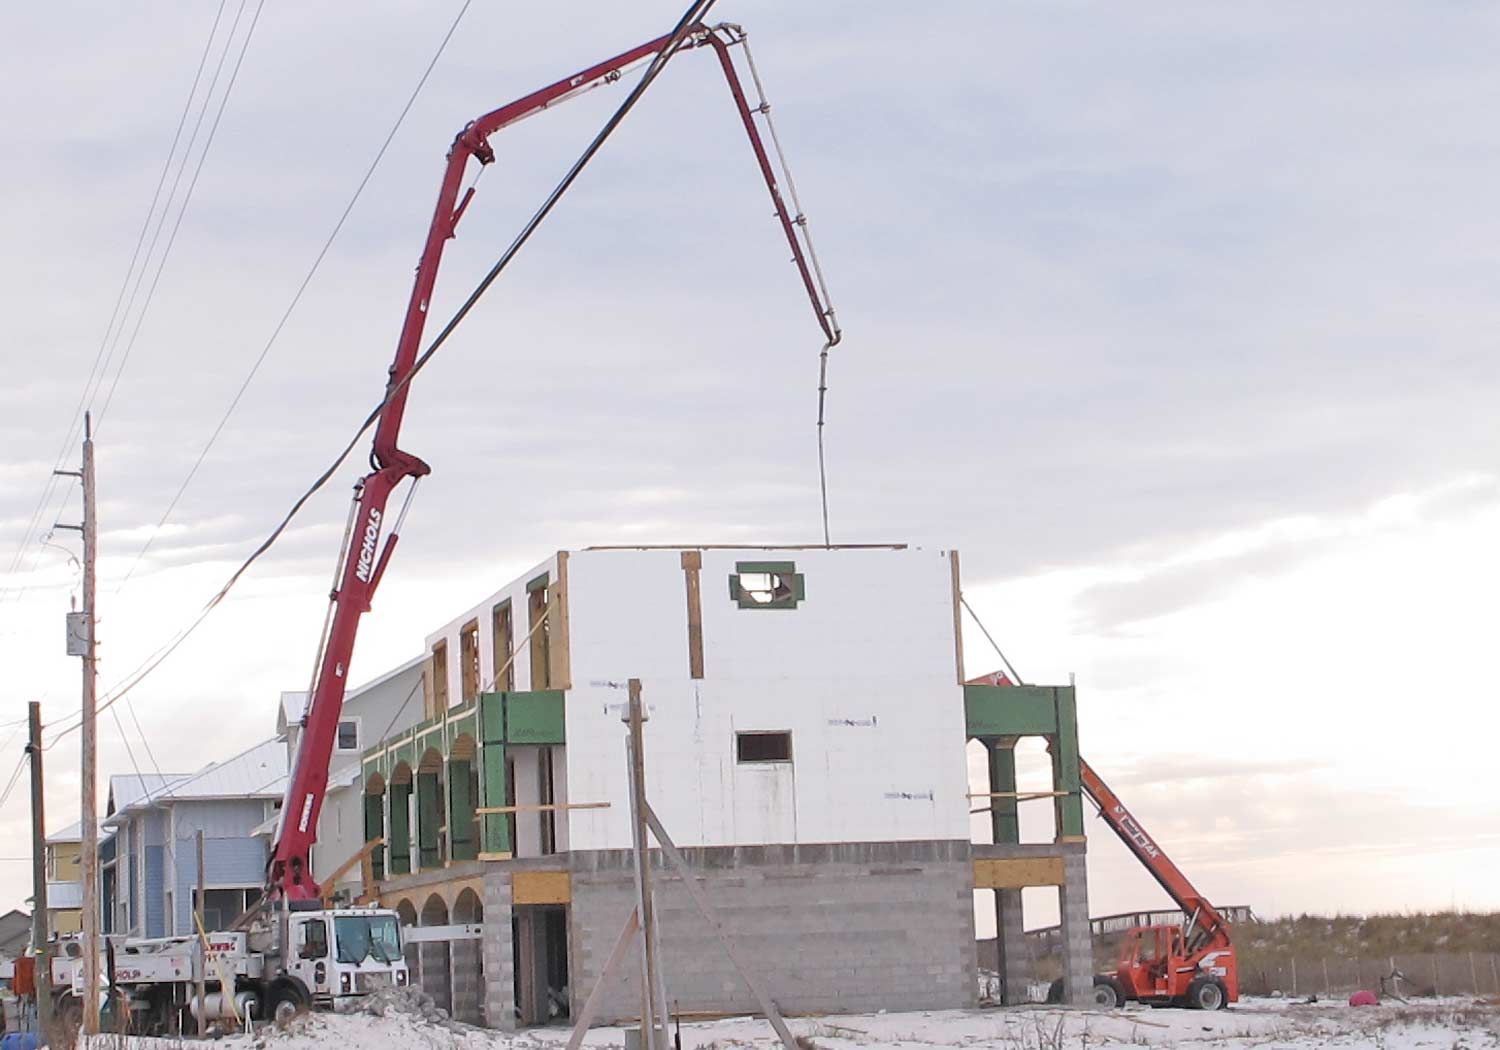
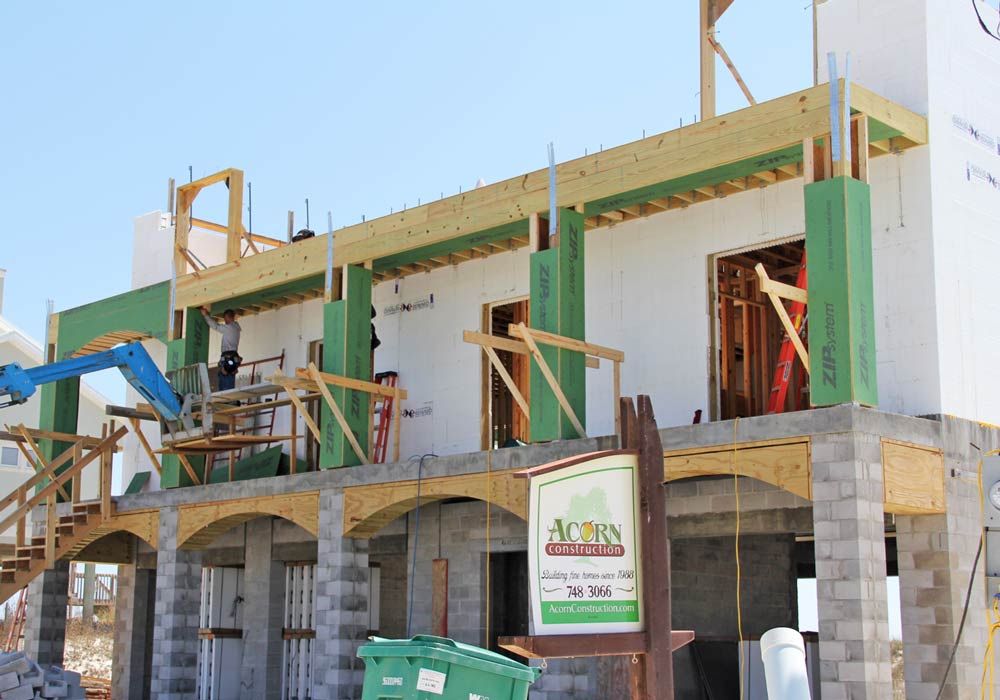


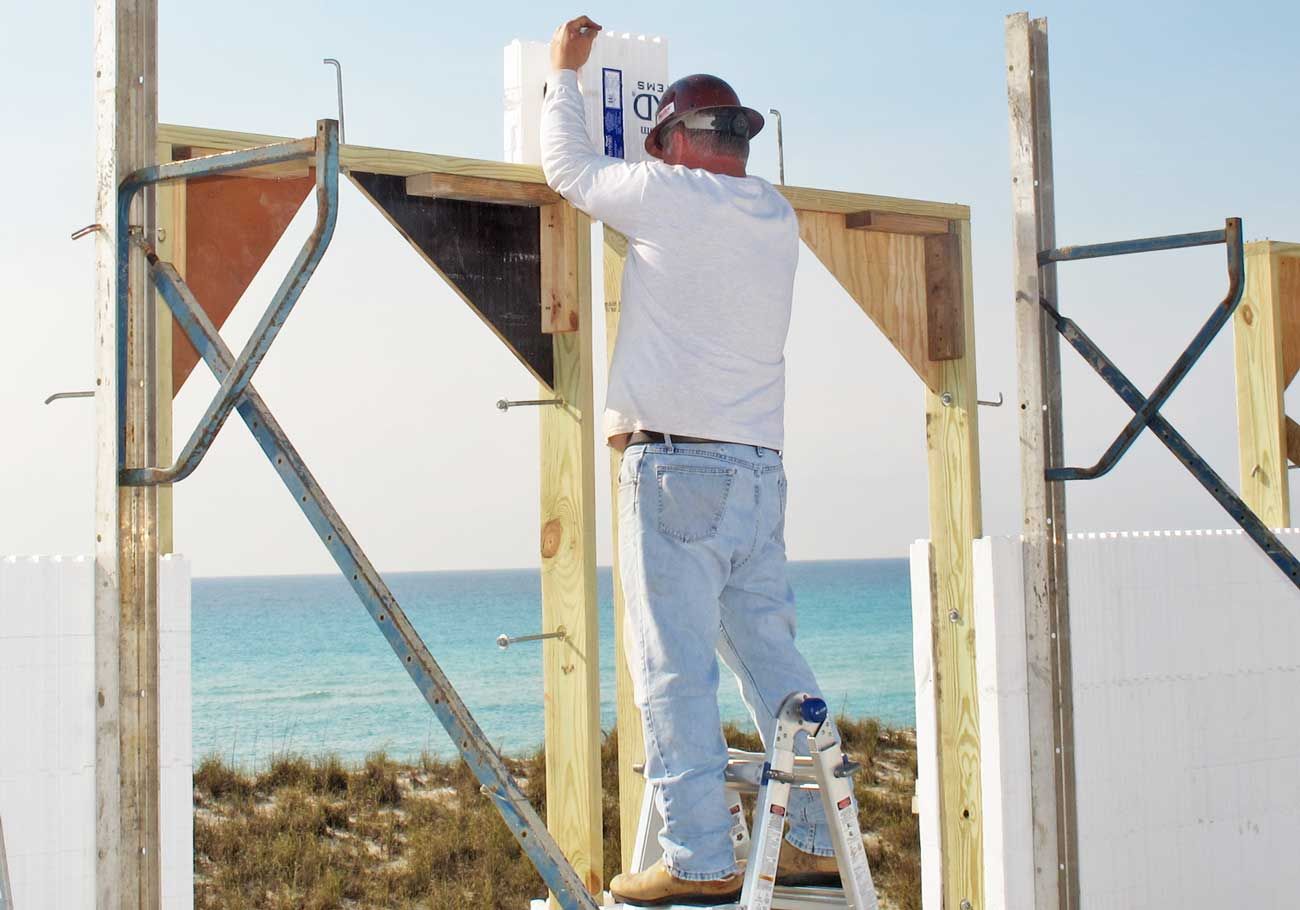
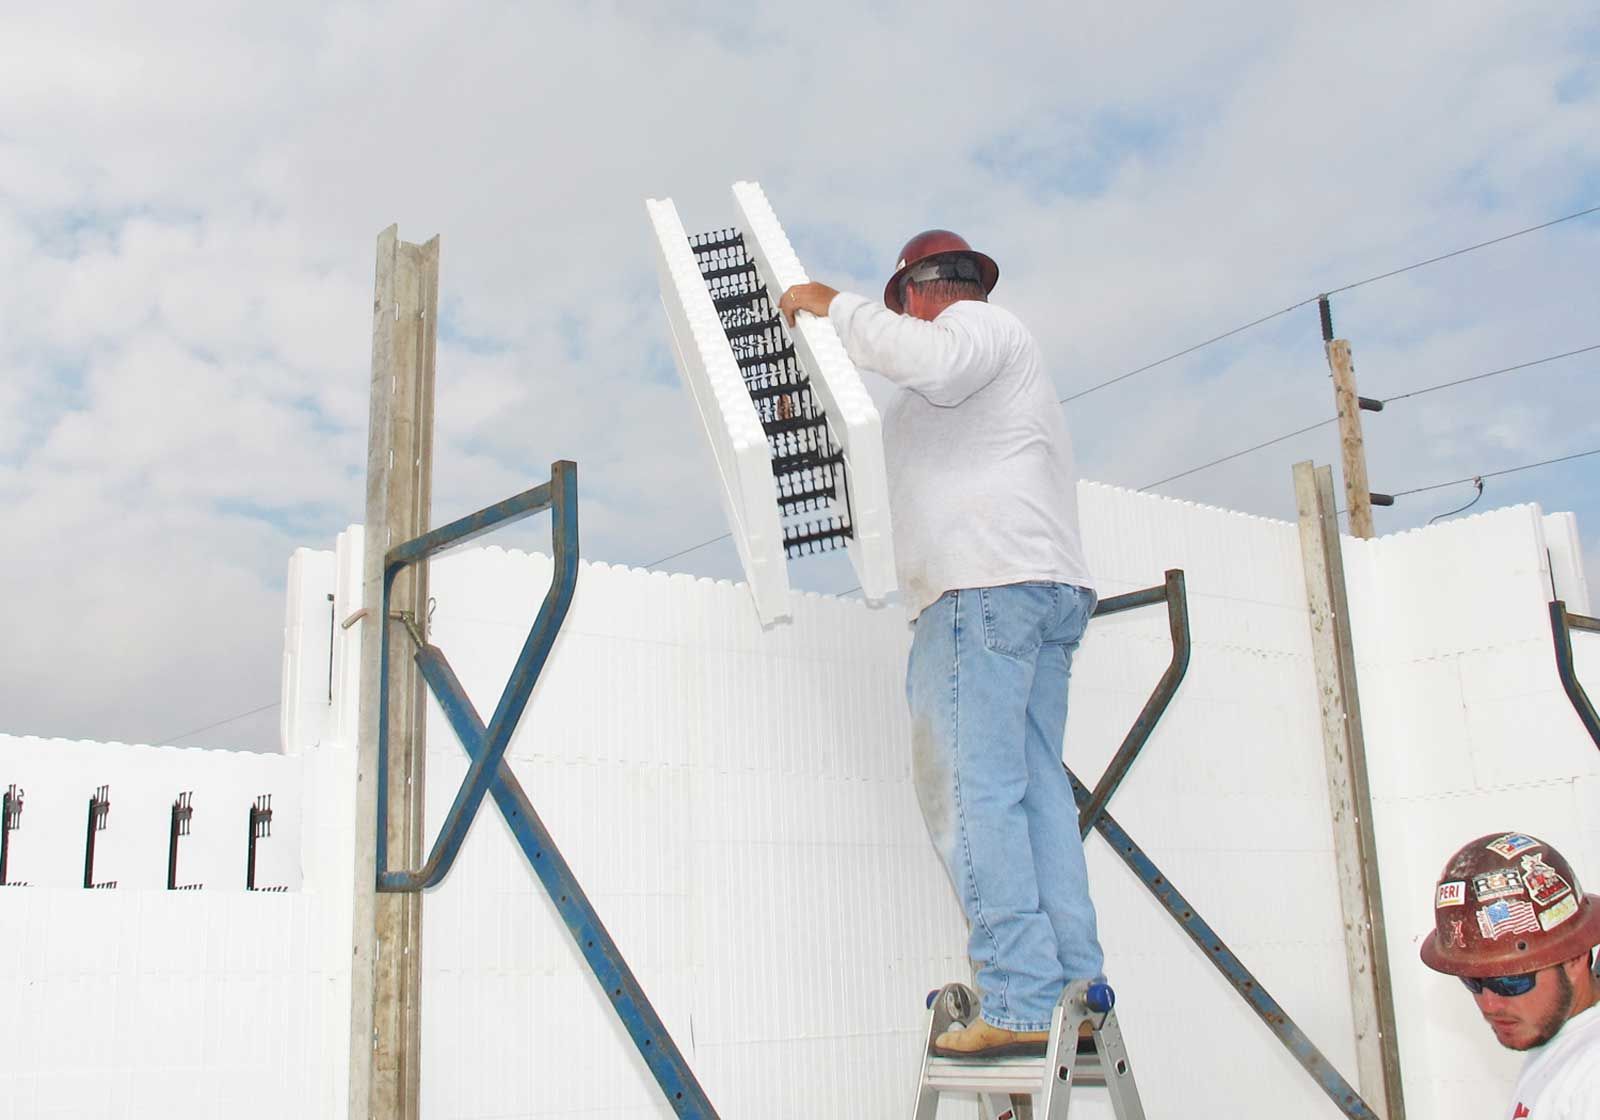
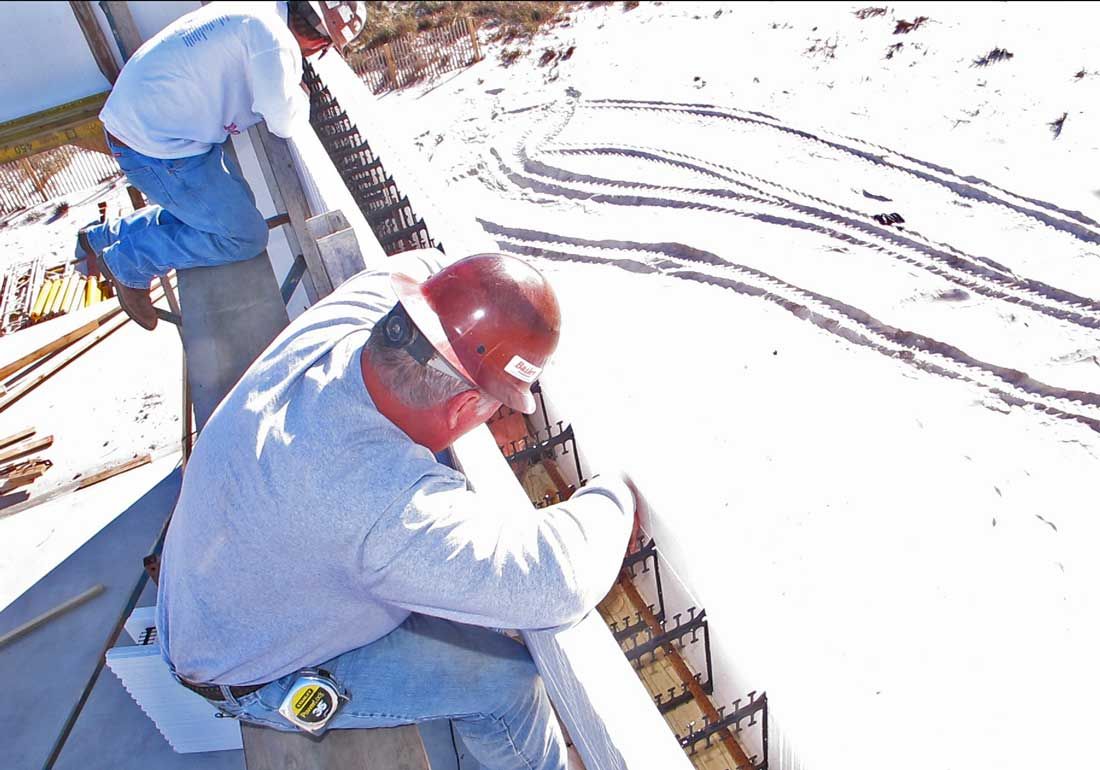
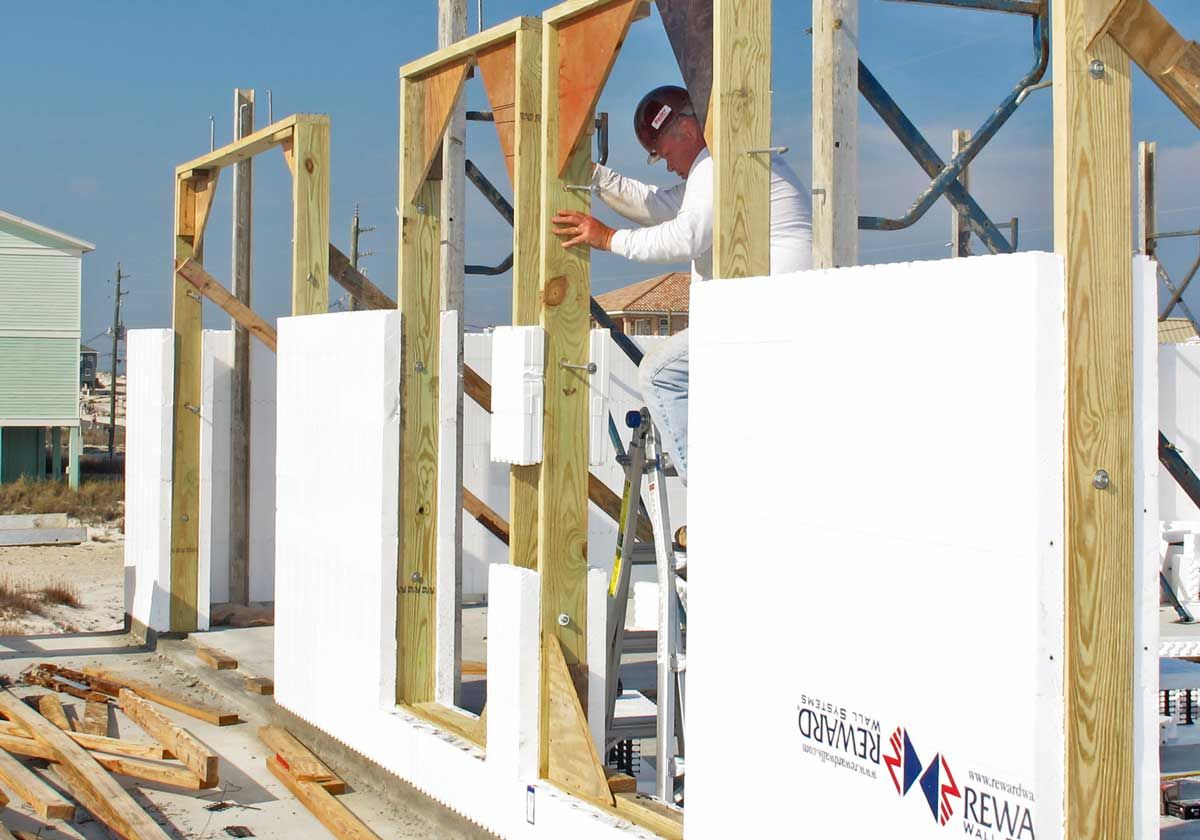
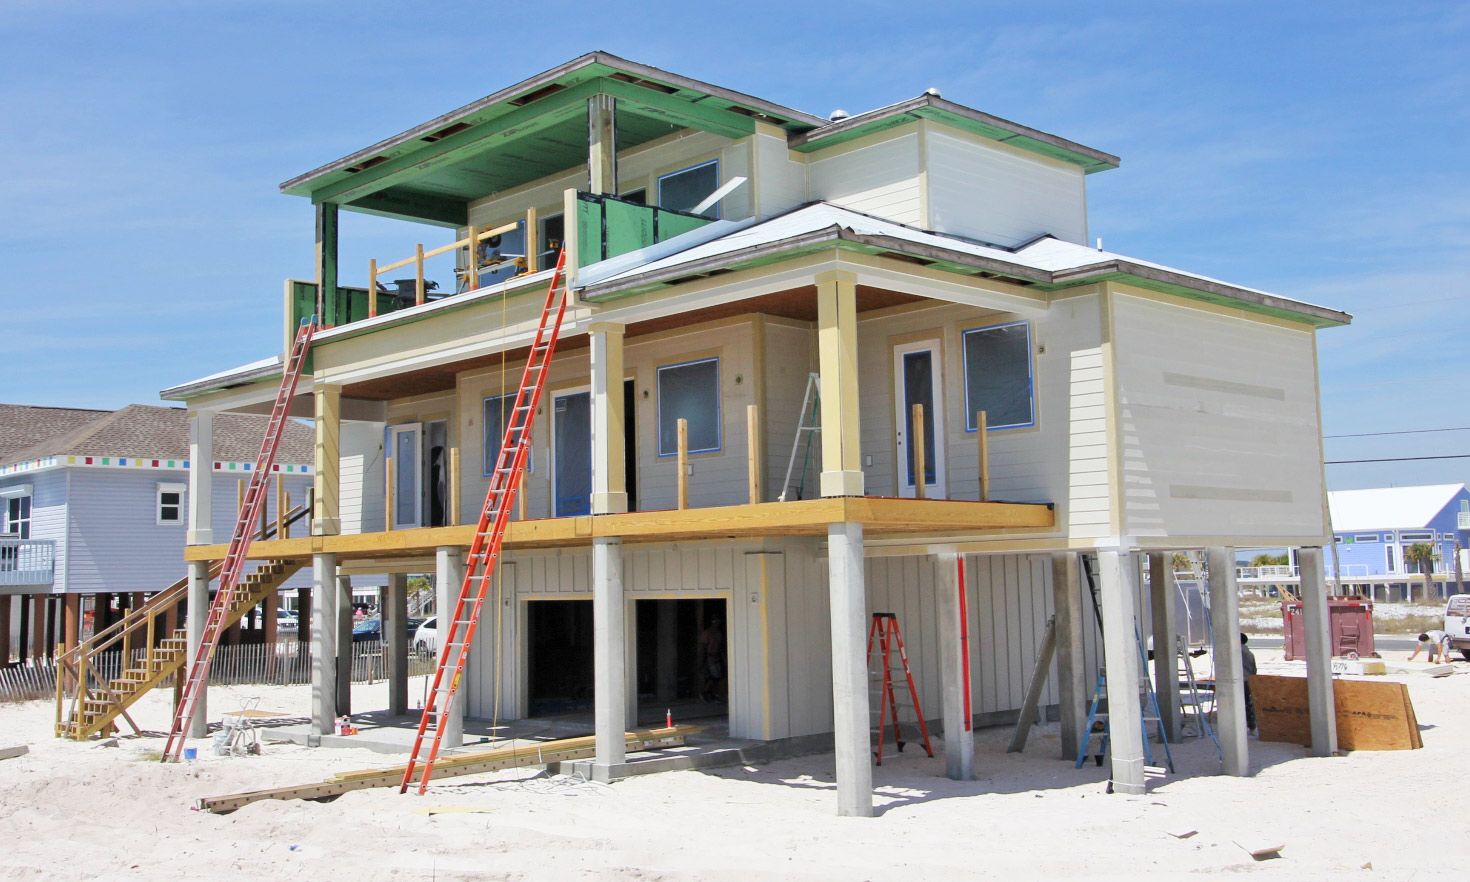




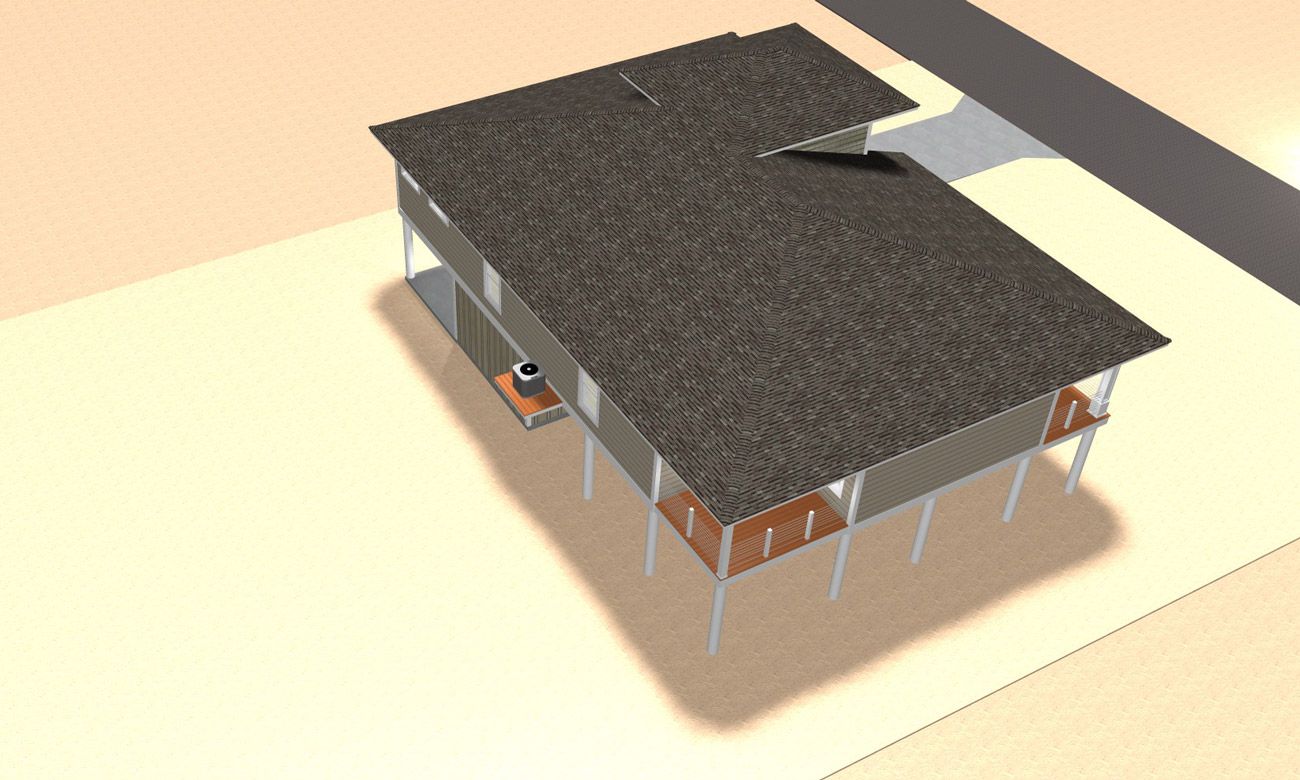

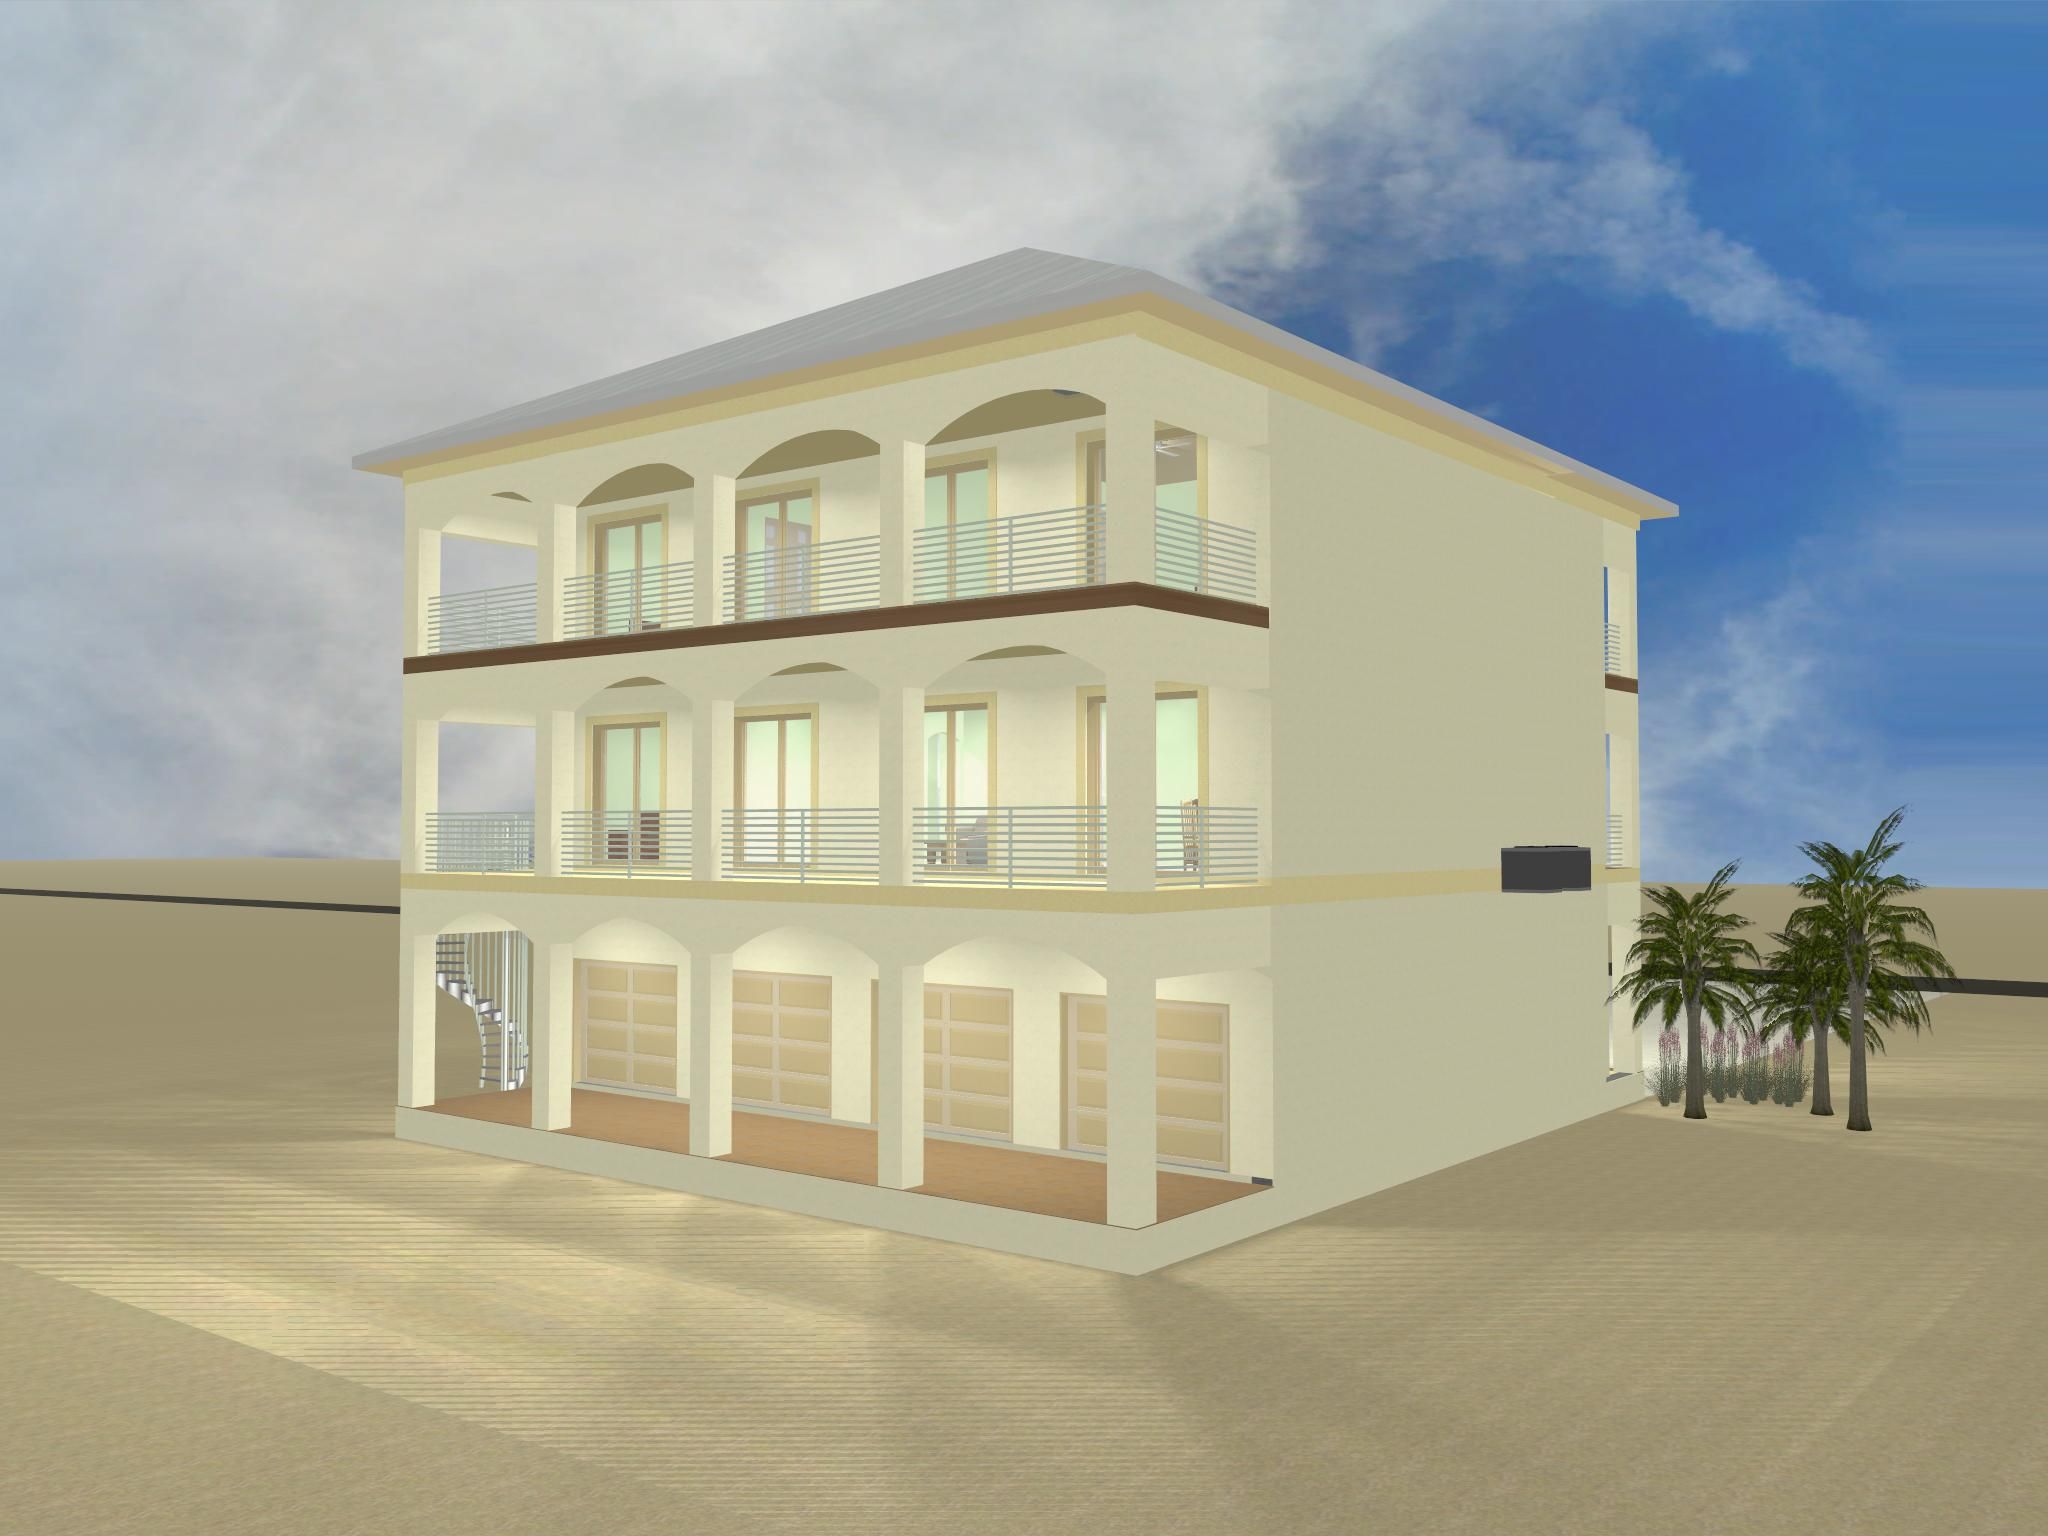


3 story ICF home on Navarre Beach. This will be the last home standing when the big one hits.
Front and rear facing garage doors allow flood waters to pass through without damaging the walls.
Front and rear facing garage doors allow flood waters to pass through without damaging the walls.
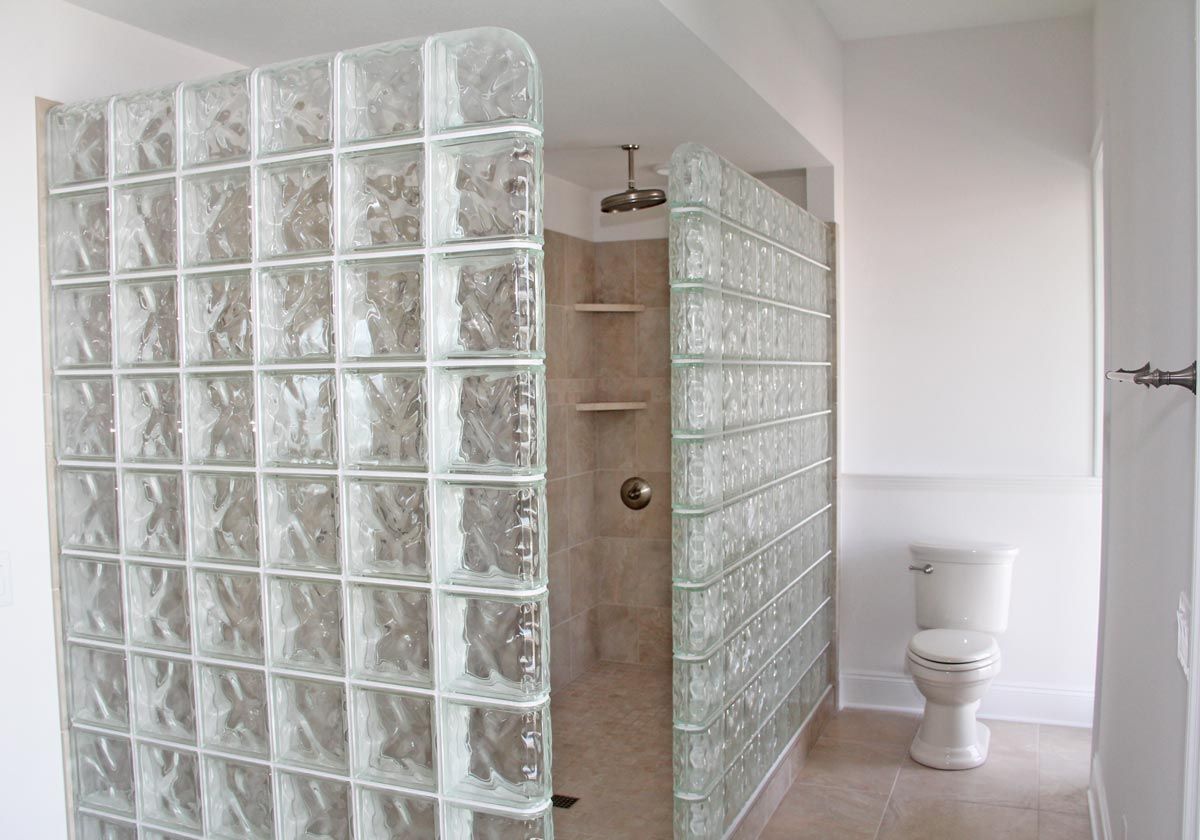
Master glass block walk in shower
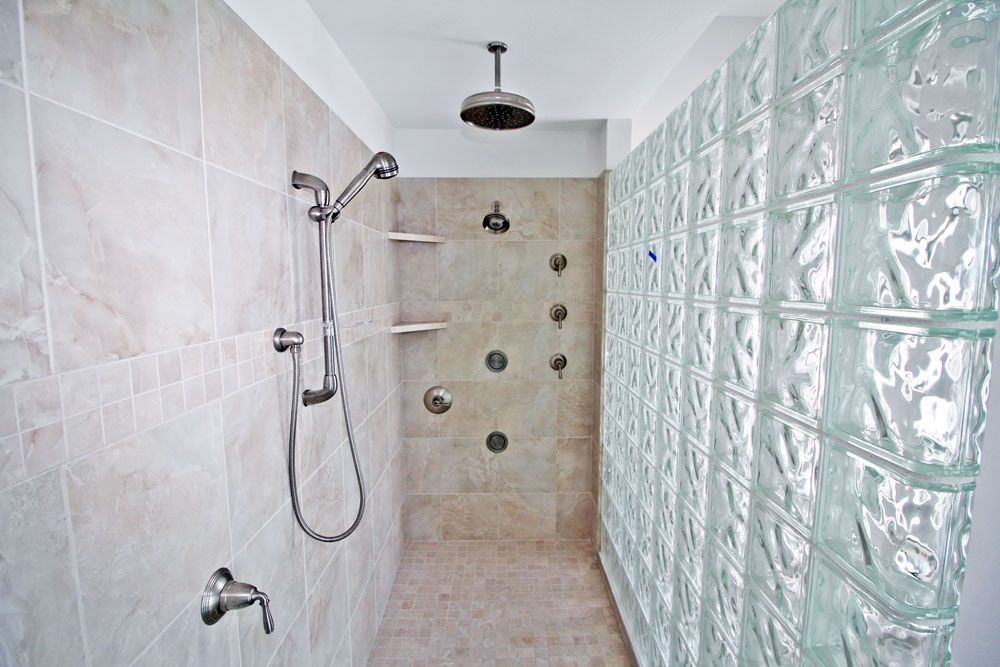
Hall bath shower
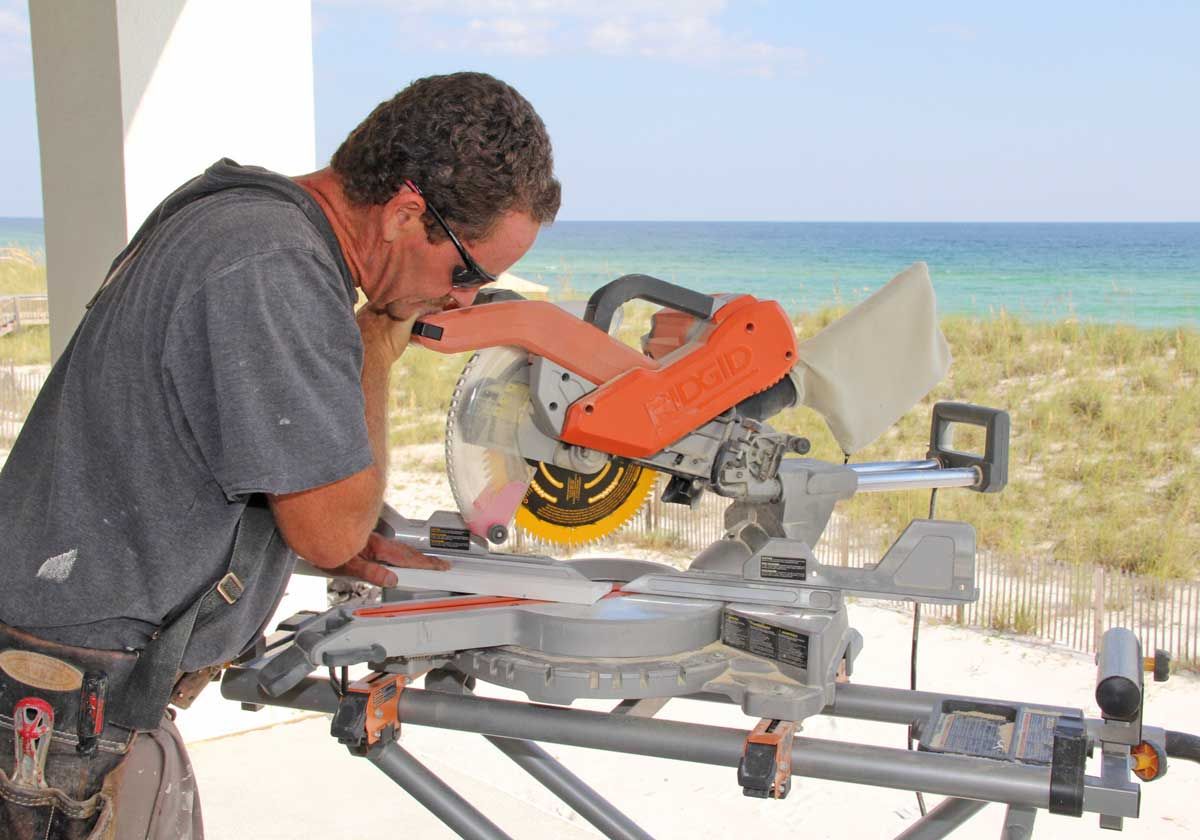
Brian cuts trim for the doors.
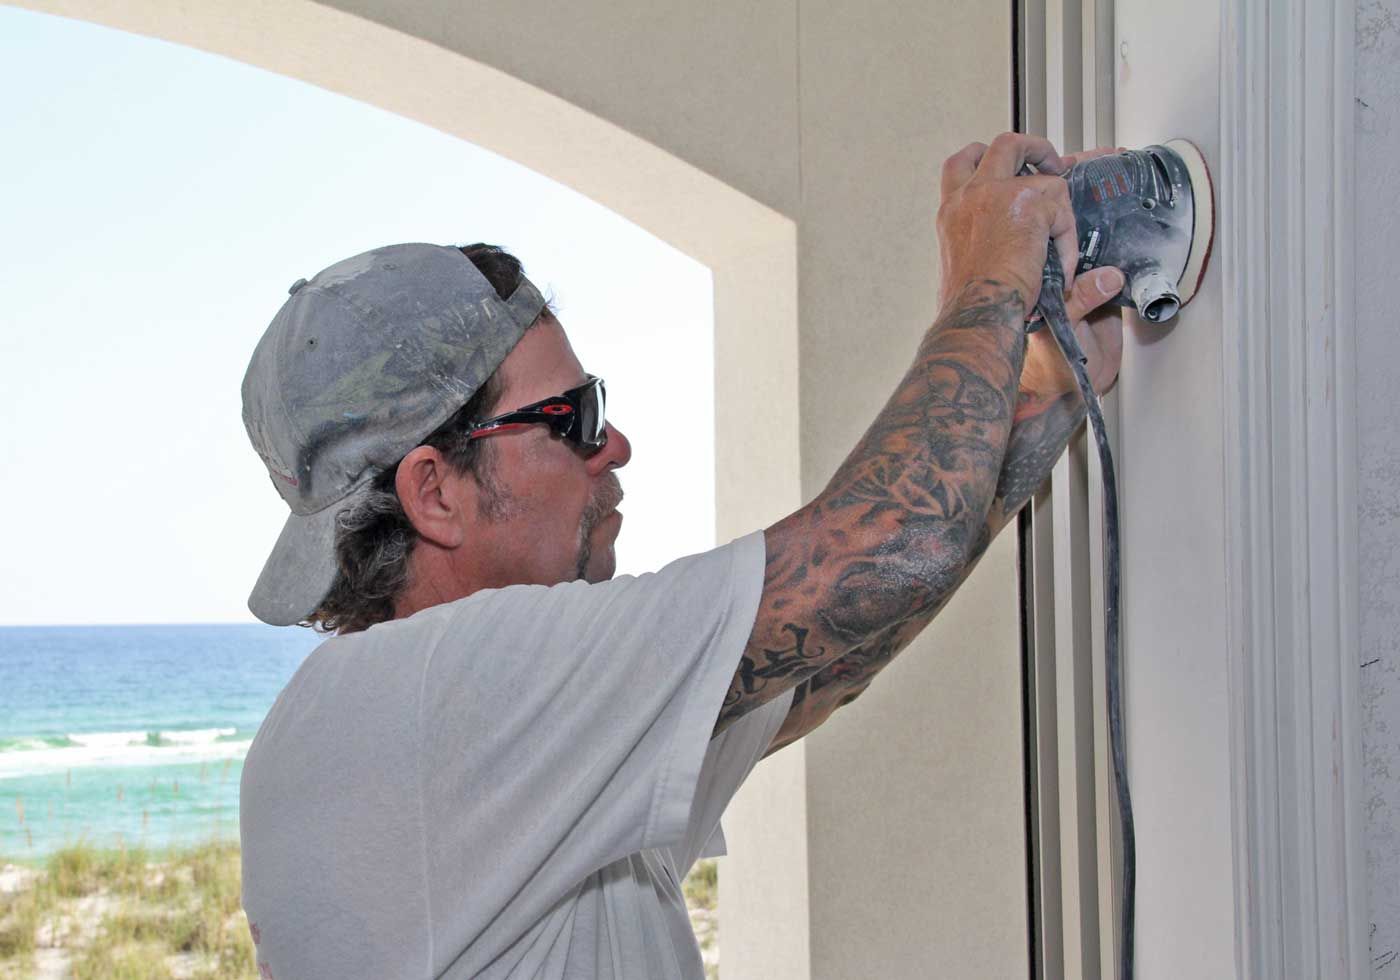
Tom Tiffin sands the door jams down for a smooth painted finish. It's all in the prep, says Tom.
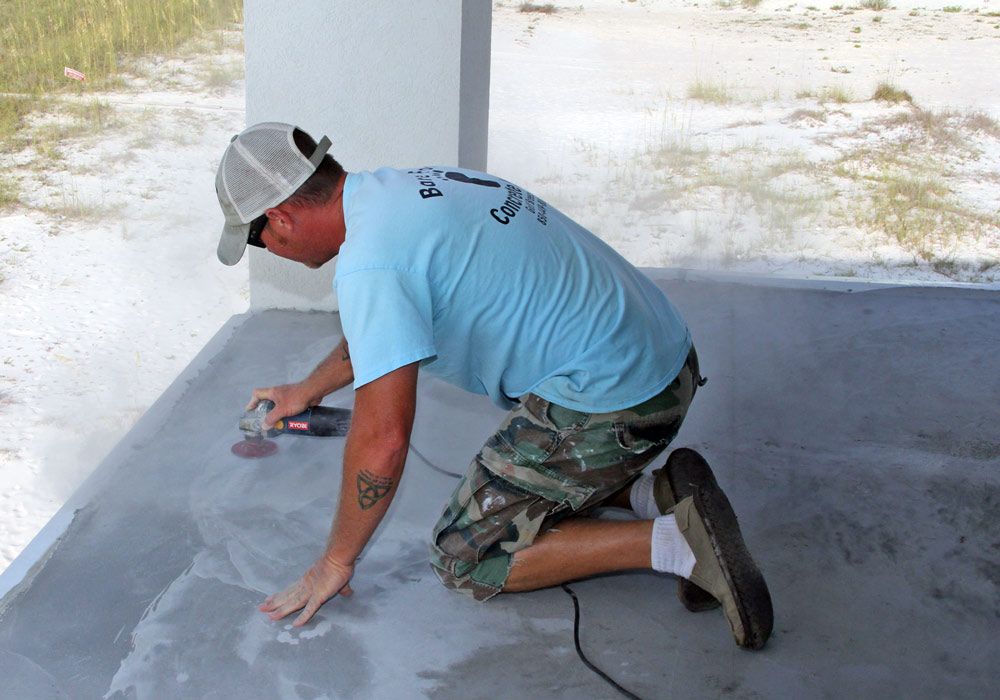
Rich with Barefoot Concrete grinds down the sealopatch deck prep to create a smooth finish for the next water proofing steps.
Hoisting the mud
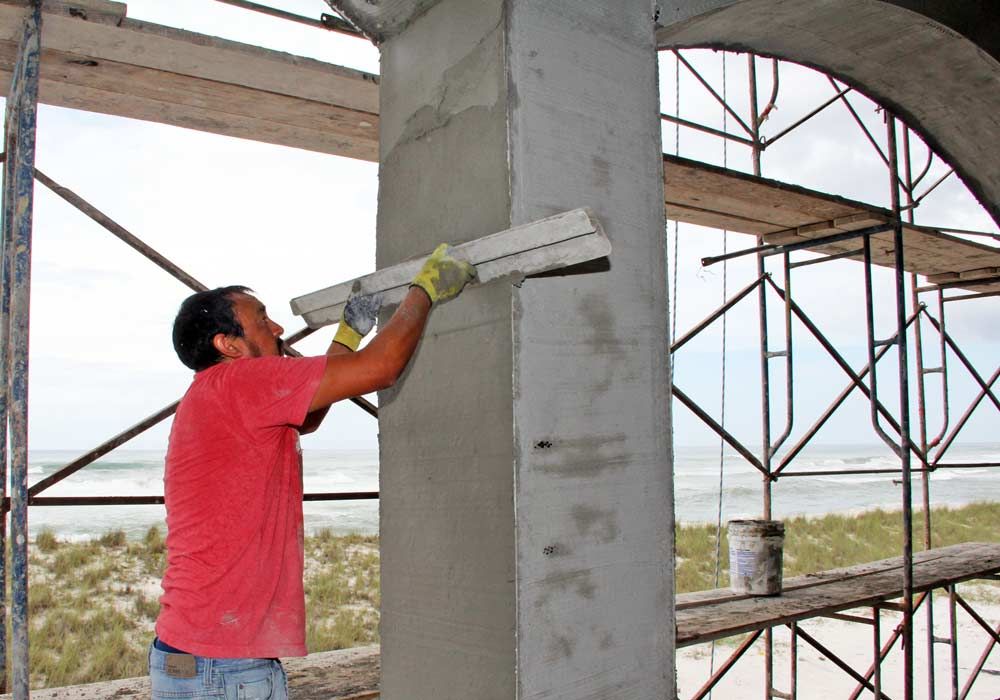
Screeding the brown coat
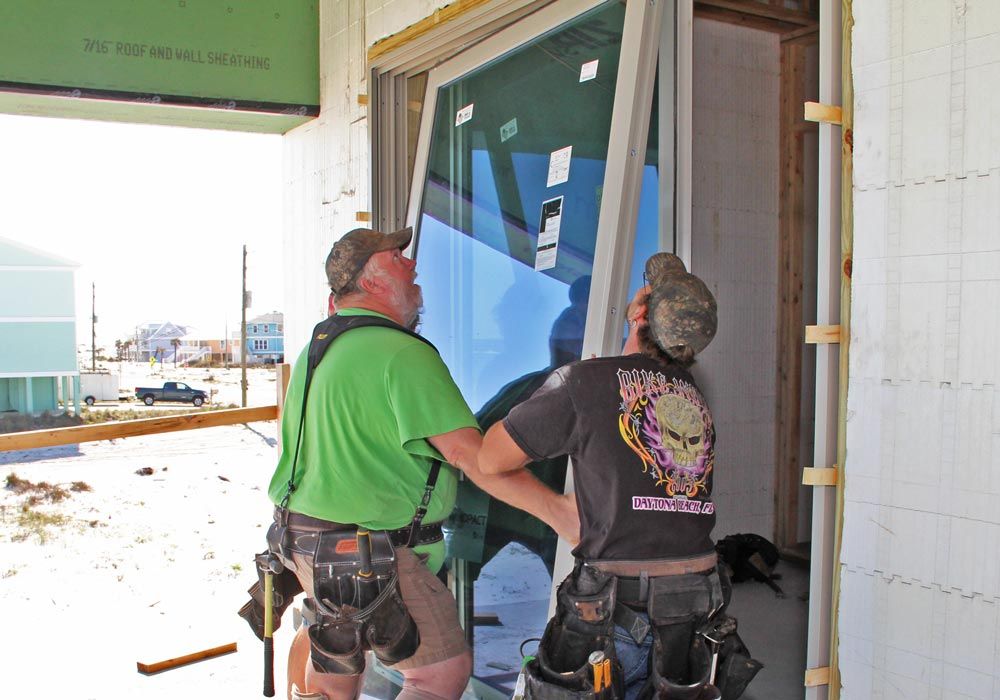
Robbie does the heavy lifting on an impact glass sliding door panel.
JP and Slim apply a rubberized coated fabric to create a water tight recessed door threshold area.
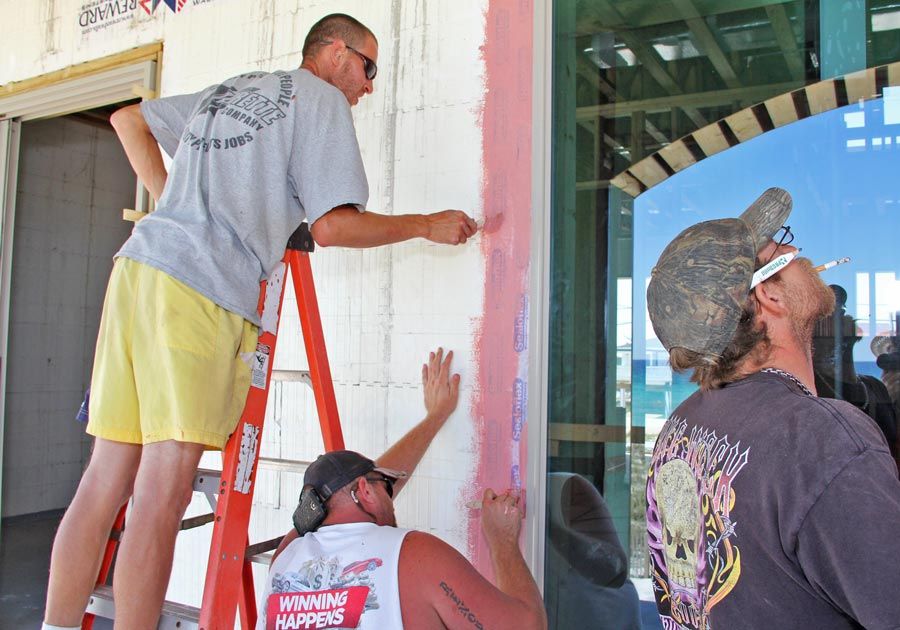
Slim and Brandon seal the window flanges to the ICF block with sealoflex. This will never leak.
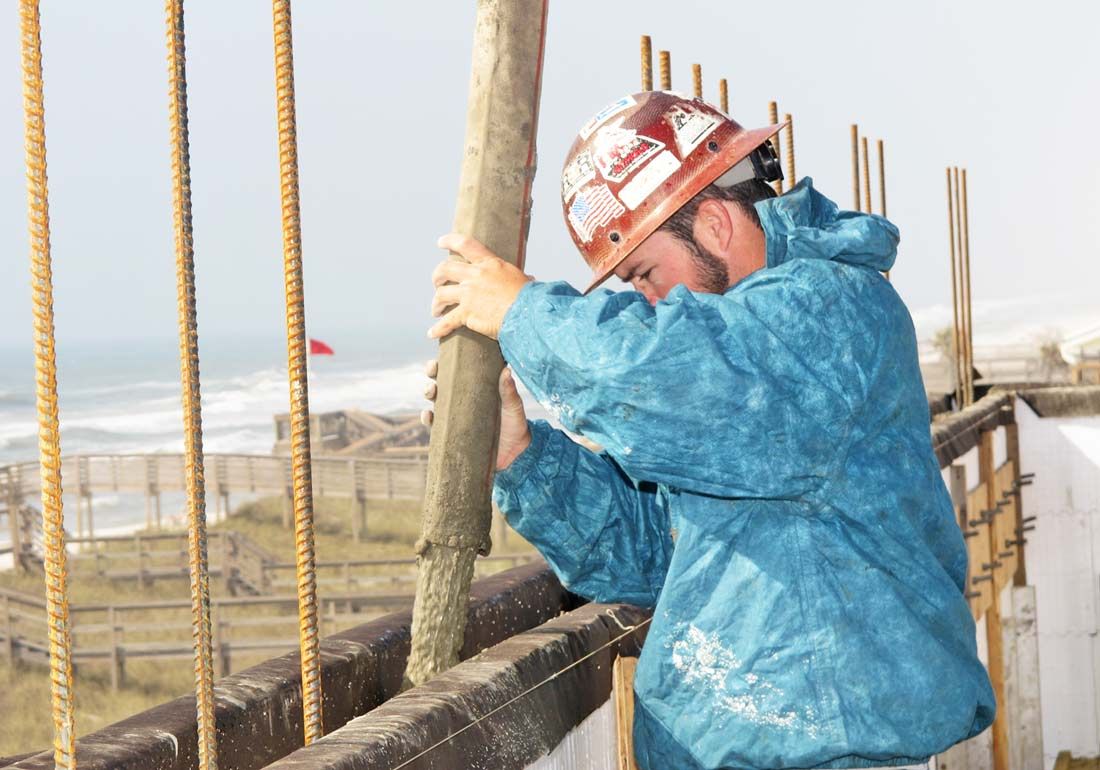
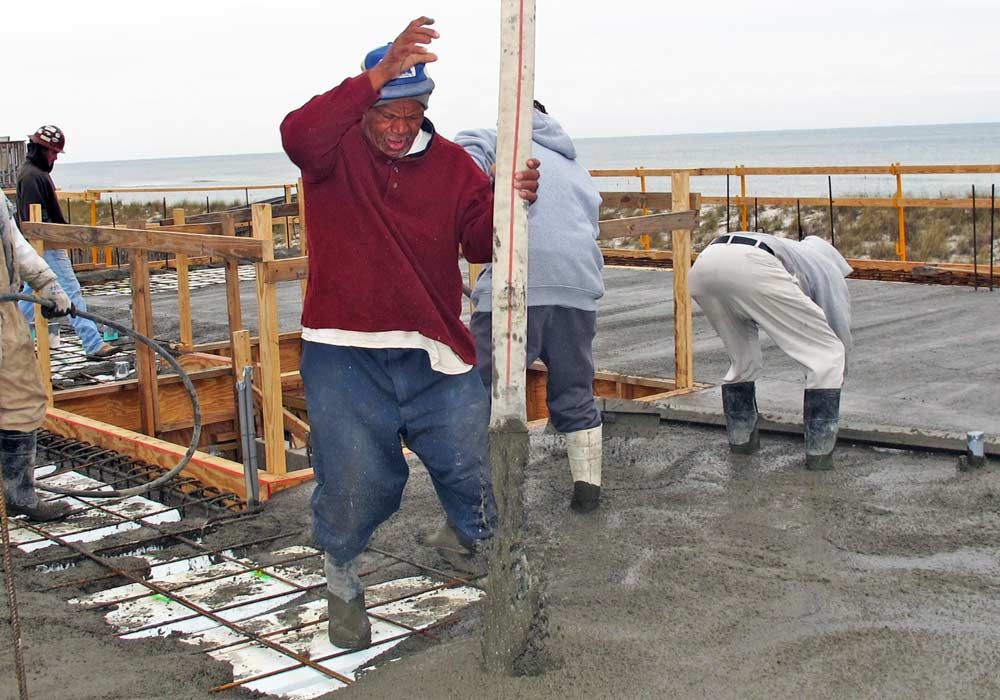
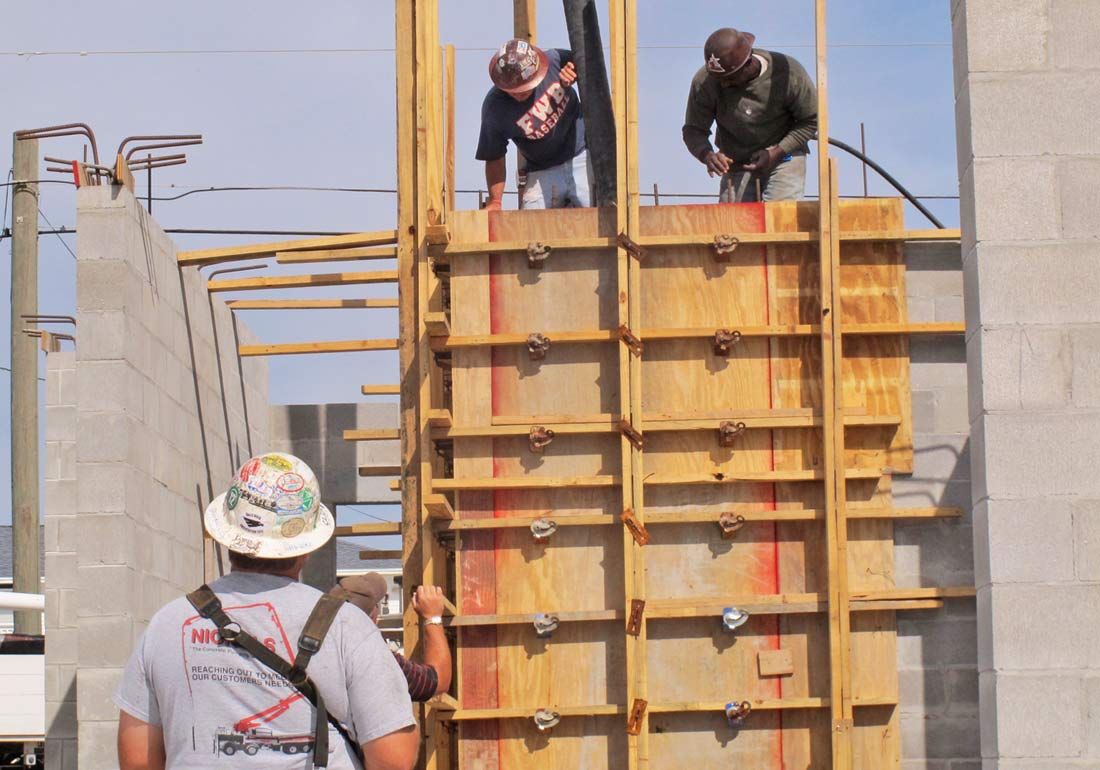
Tyler pours the 3rd floor walls
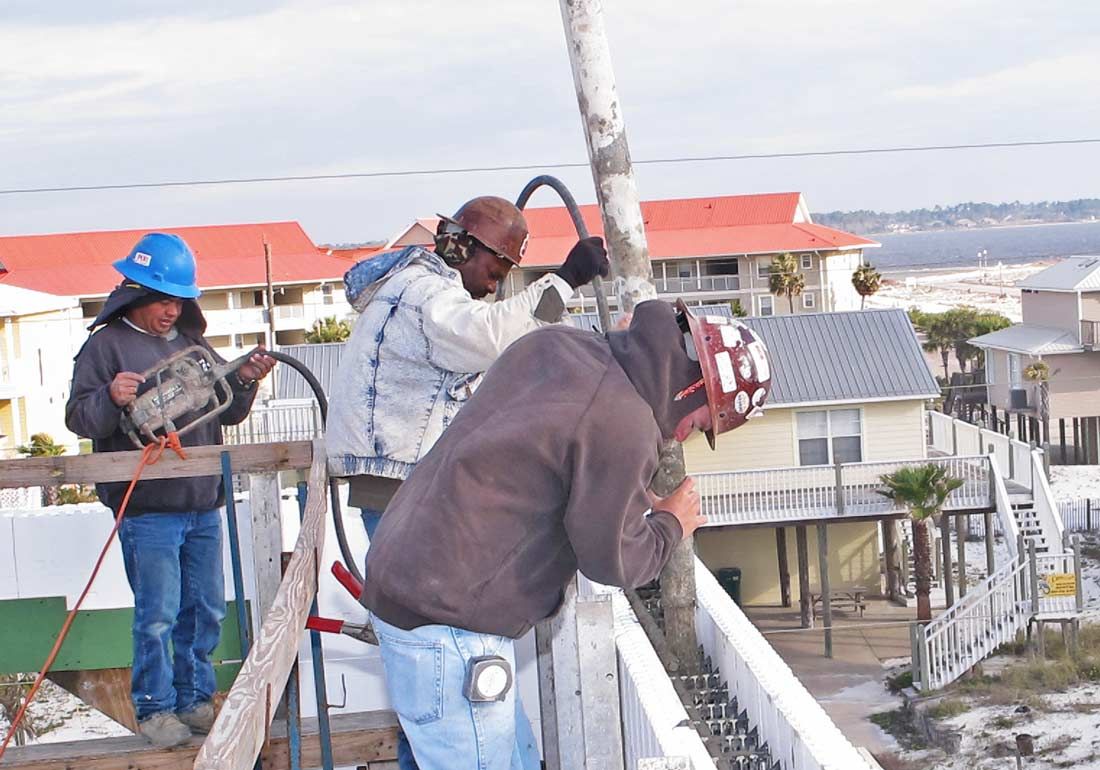
Tyler pours while James vibrates the 3rd floor walls
Laying up the 3rd floor
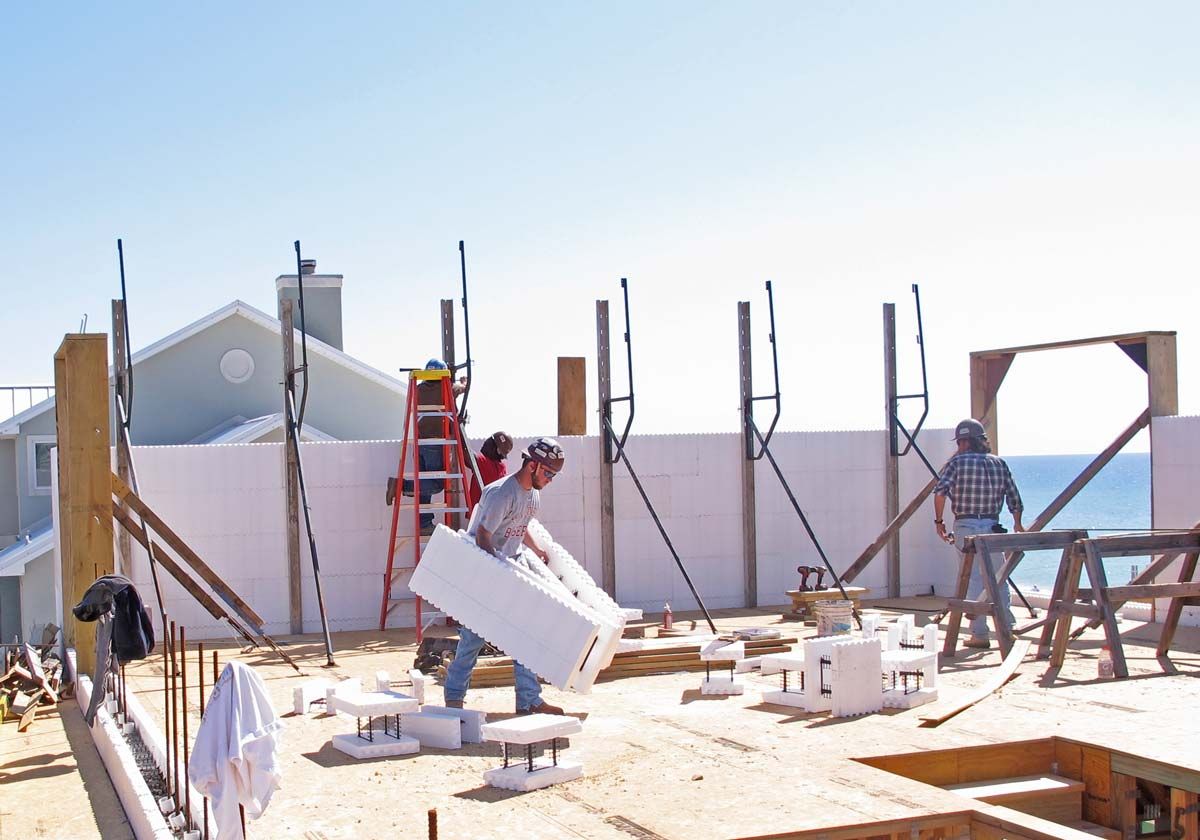
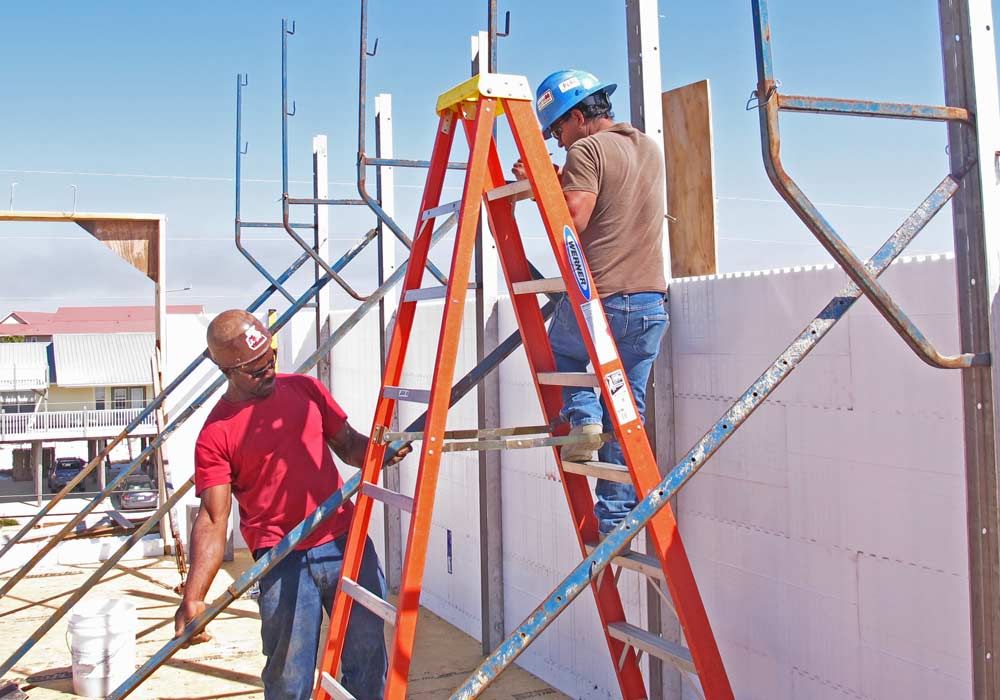
James and Pancho adjust the wall braces which hold the walls plumb during the pour.
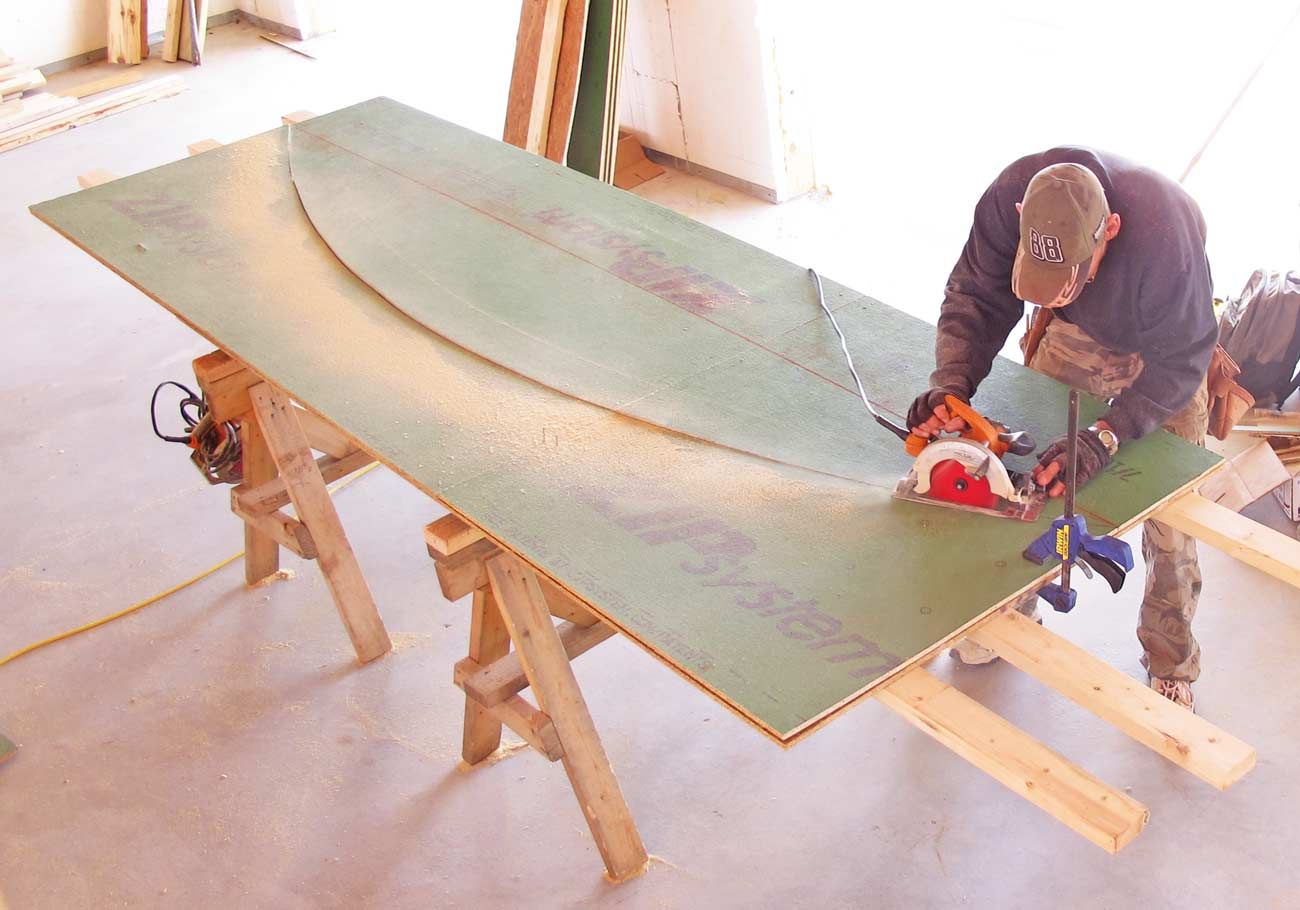
Cutting out the arches
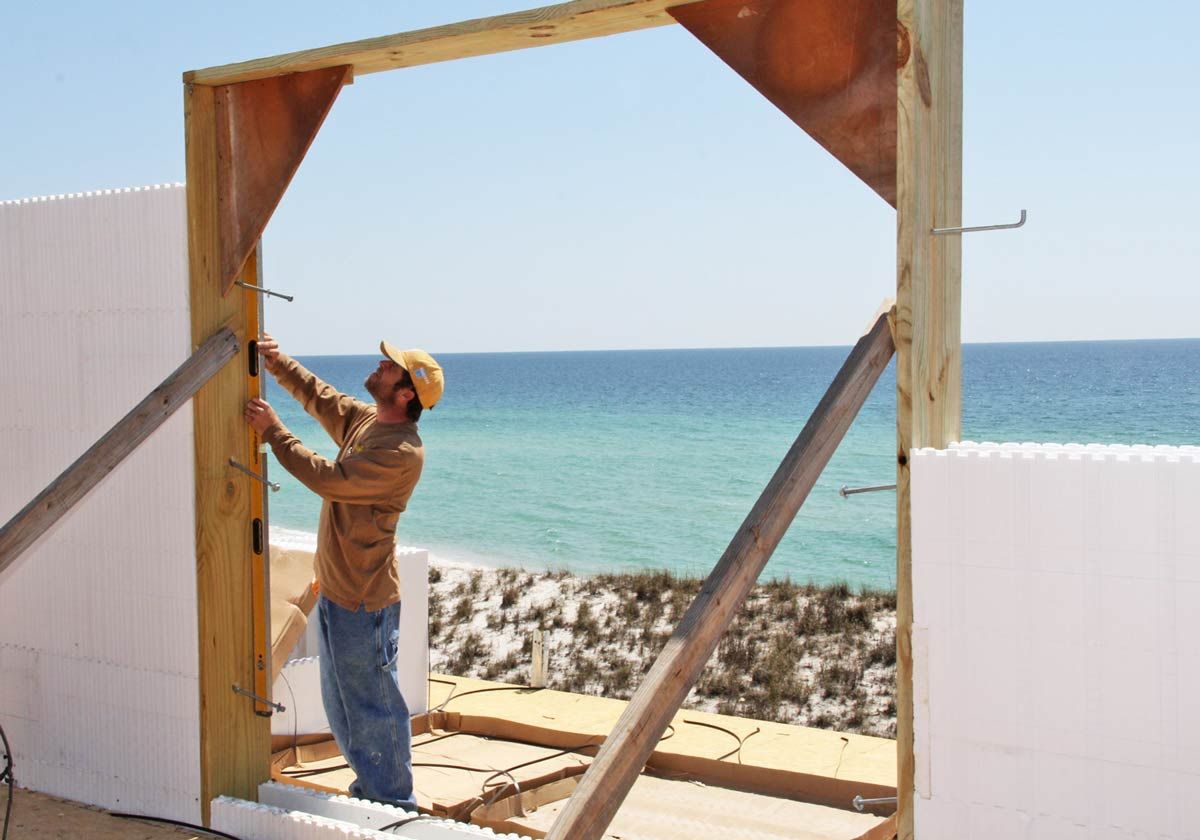
Shannon checks the 3rd floor door bucks for plumb, level, and square.
Ready for the 3rd floor ICF walls.
Robbie checking out the view from the 3rd floor. Very nice!
Working on the rear porch deck ledger board.
Tyler pours the second floor ICF walls.
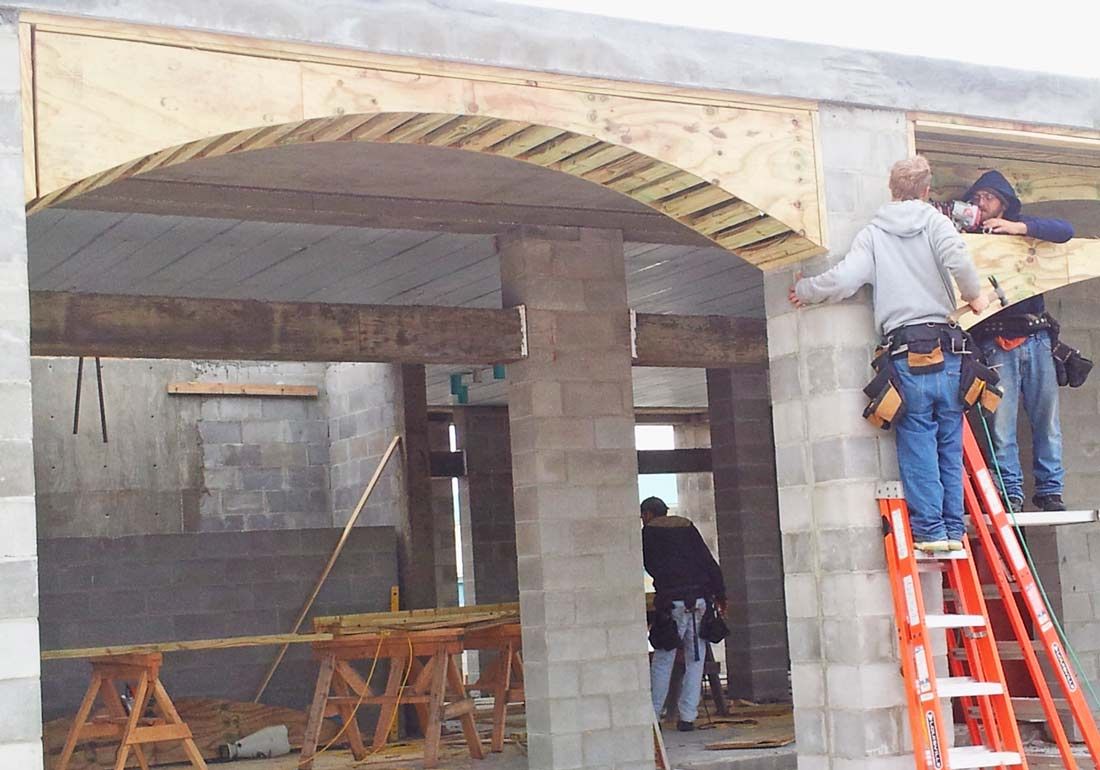
Building the blowout arches on the back porch.
Todd works on the windows bucks.
Todd sets the ICF blocks. The braces hold the walls in place while the concrete is being poured.
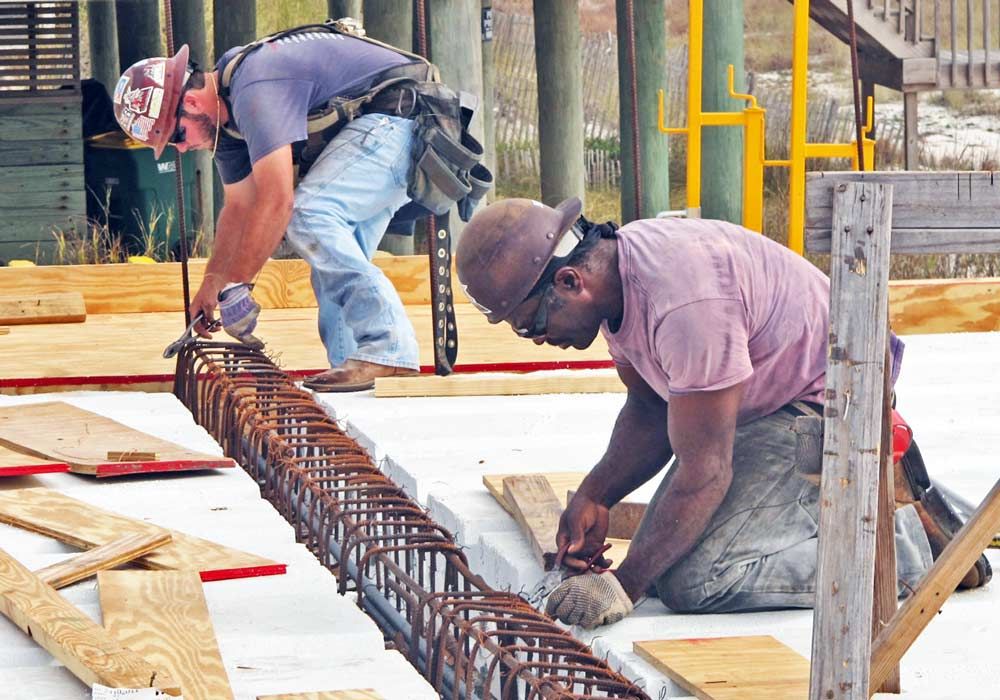
Tyler and Todd place 1/2" steel rebars in the wall.
Todd adjusts the window and door bucks on the second floor.
This shows what we're building. An energy efficient, hurricane, and flood tolerant gulf front home designed to take hurricane punishment with minimal damage. Learn more at Quad-Lock, Reward Wall Systems, Logix Block, and Lite Deck.
Pouring the lite deck slab.
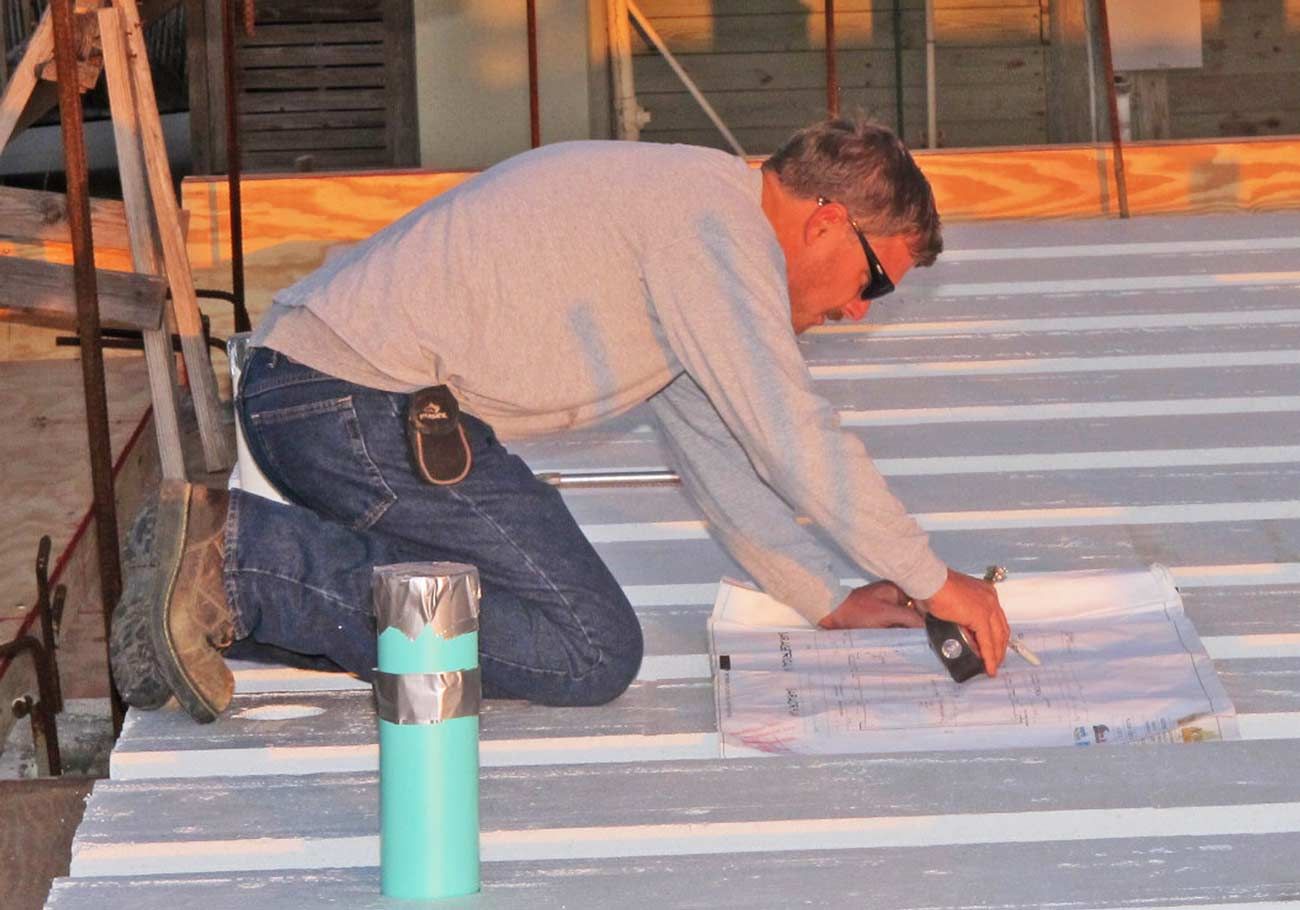
Randy with Kens Electric plans the electrical conduits that must run through the lite deck slab.
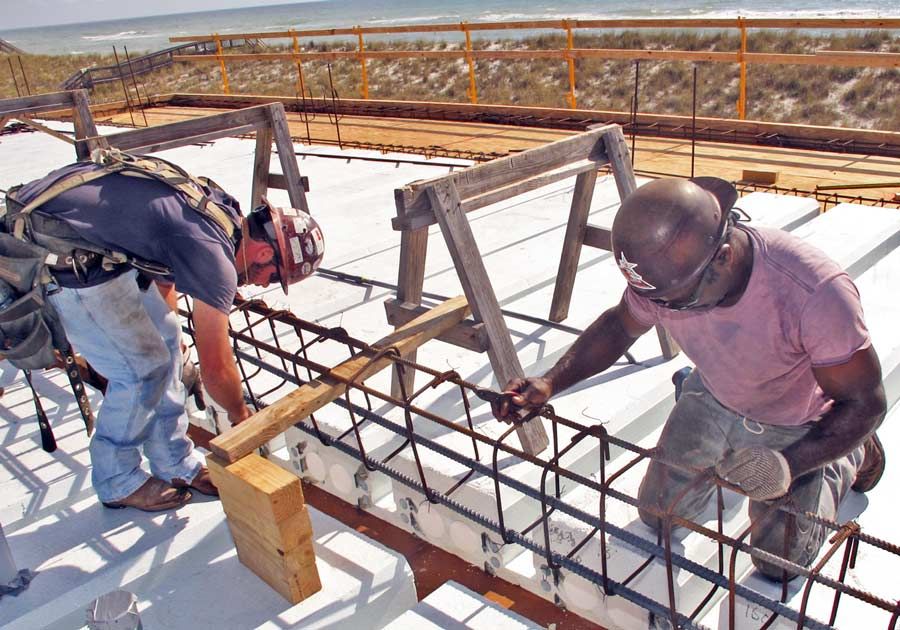
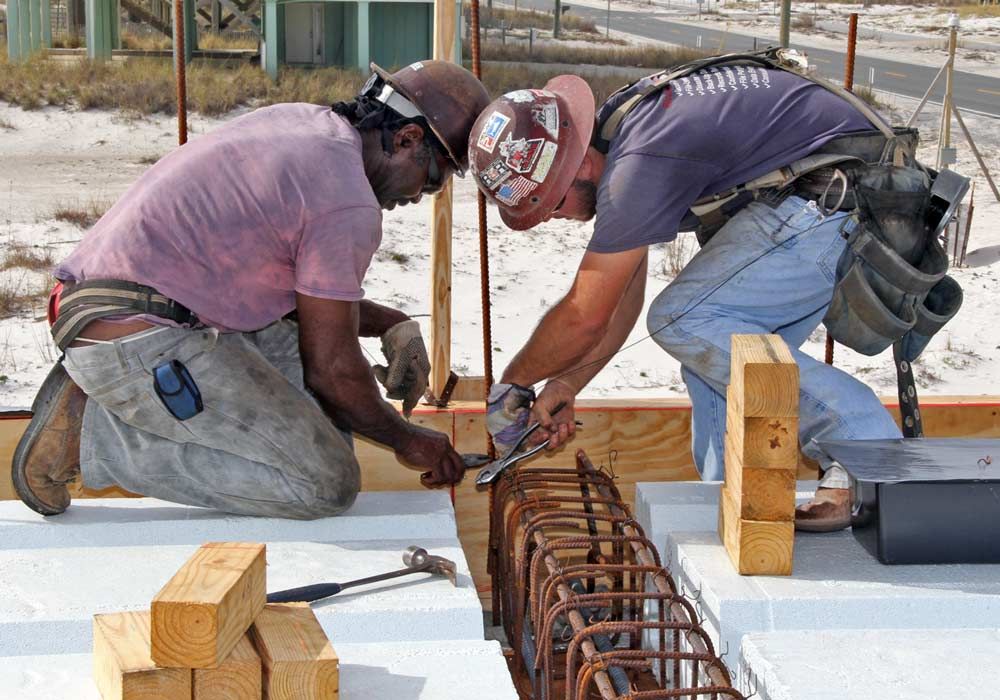
James and Tyler tie off the rebars on the beam cage.
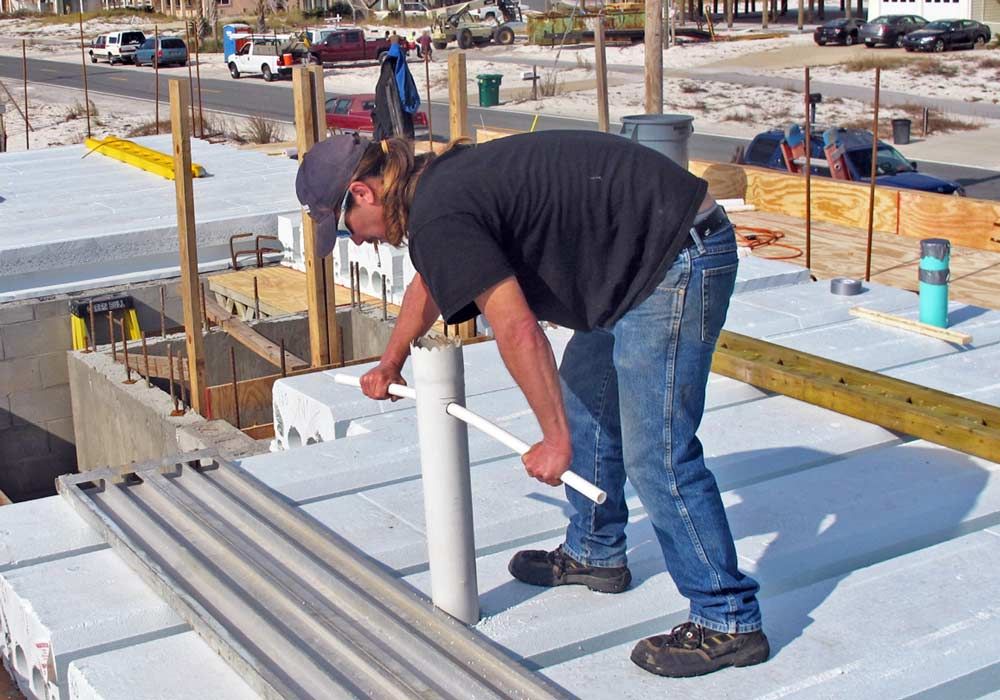
Drilling a hole in lite deck for a drain pipe is made easy with a home made drill from a piece of PVC with a saw tooth pattern on the bottom.
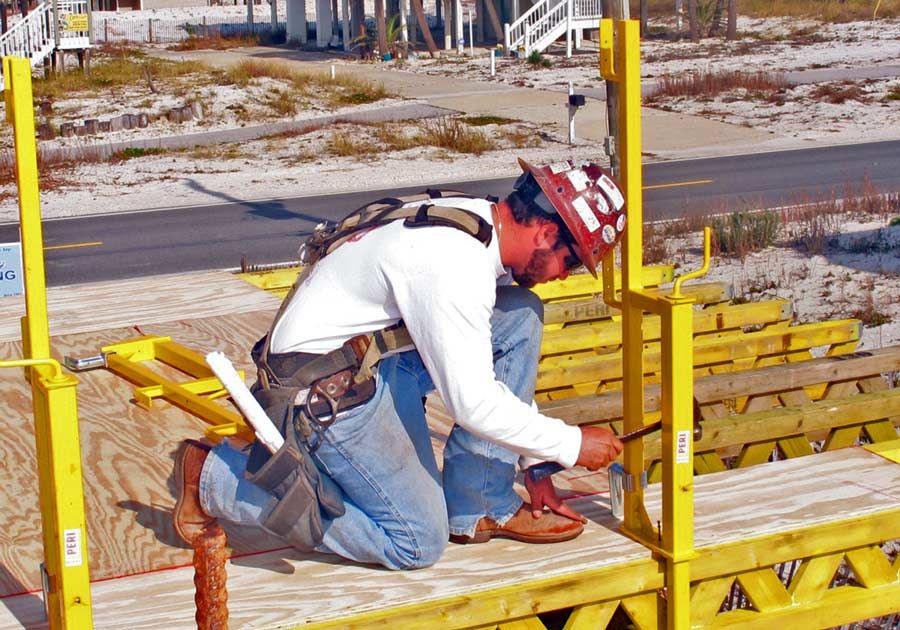
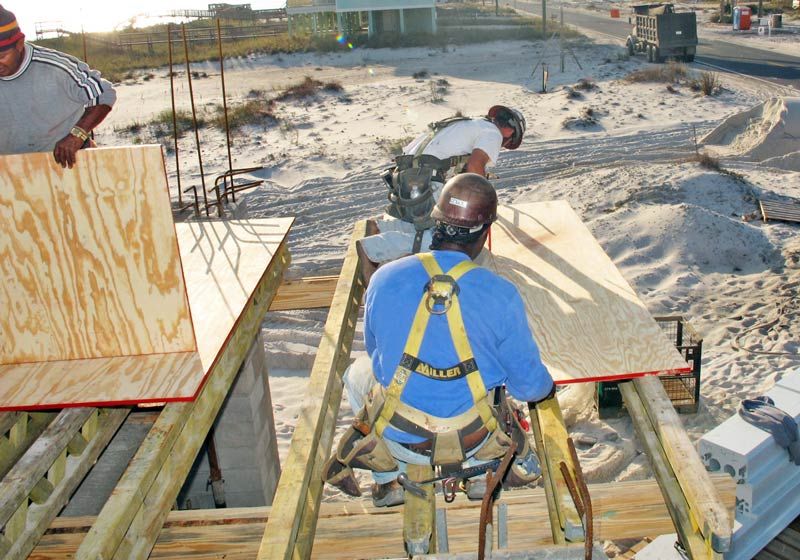
Tyler installs safety rail brackets on the deck forms. Safety first all the time.
Tyler sets the periform shoring into place to hold up the foam forms for the concrete floor.
The rear half of the lite deck forms are in place.
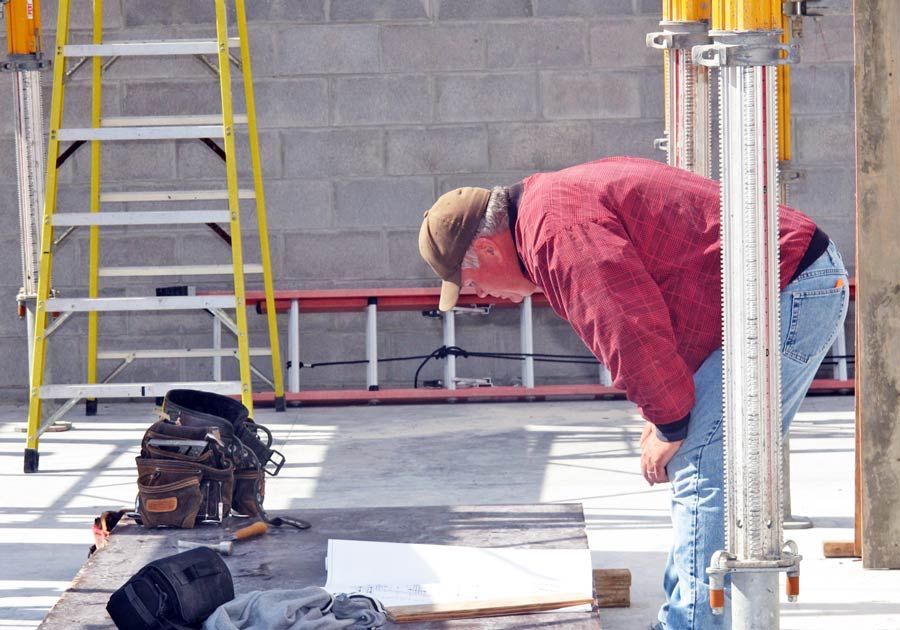
Todd figures it out.
Pancho, James, and Tyler form up the front porches.
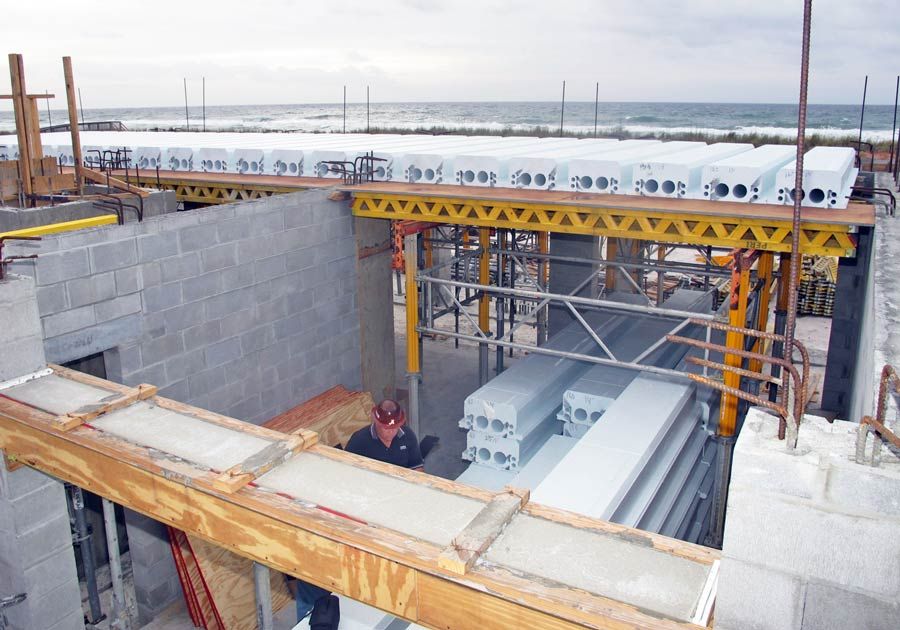
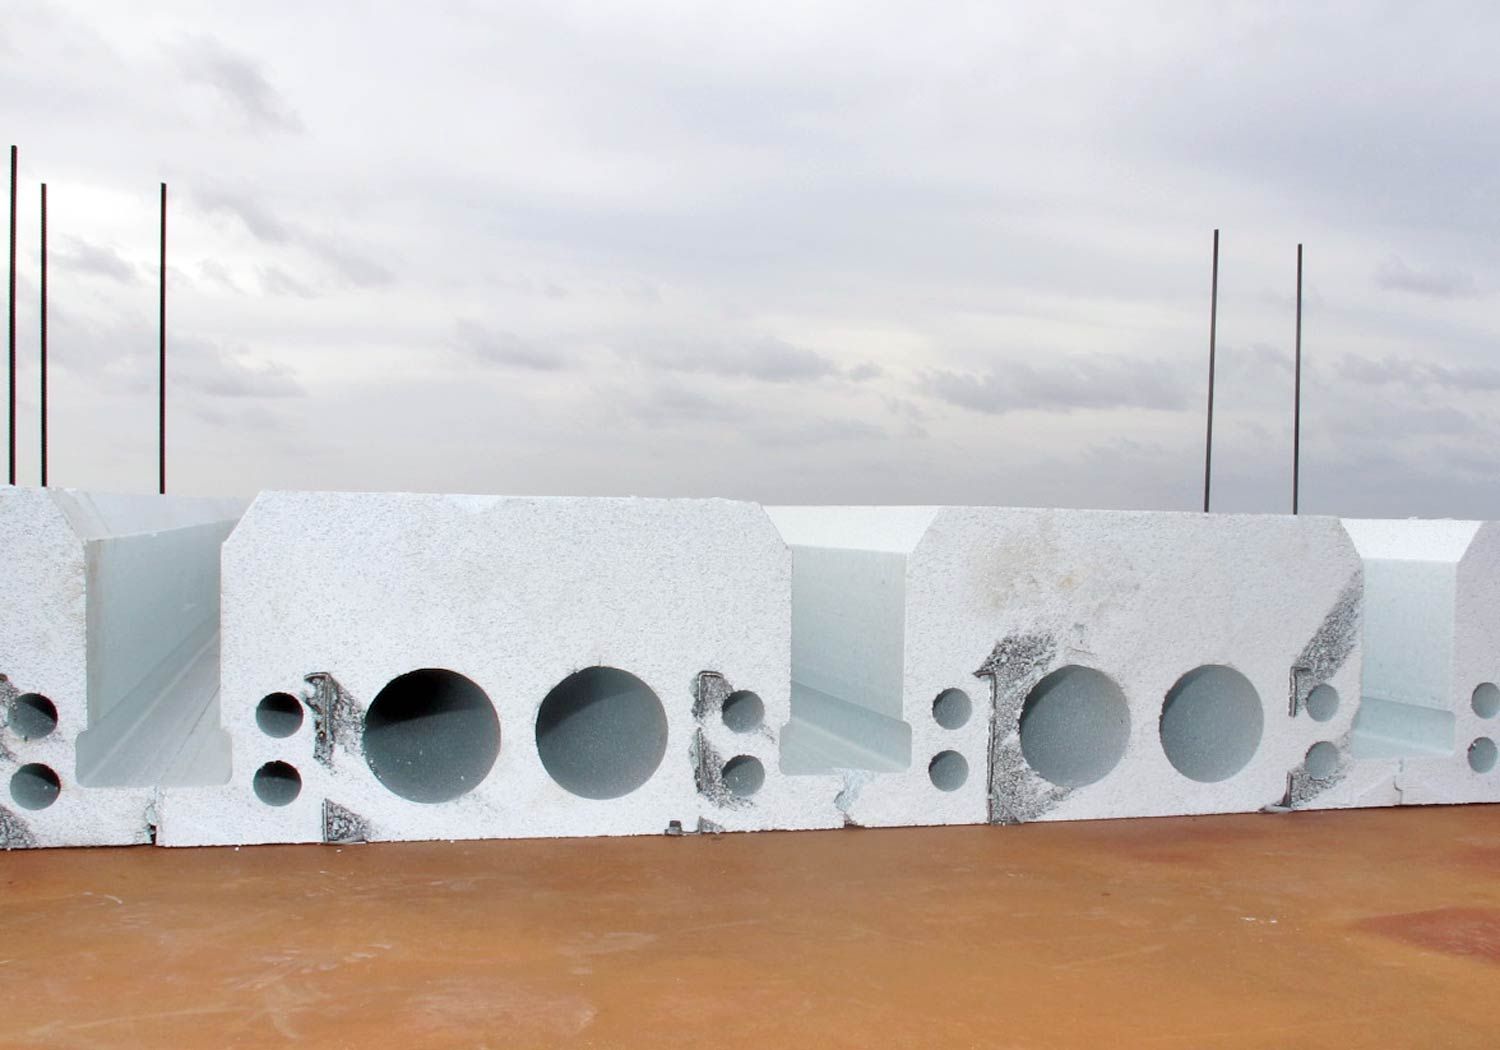
The foam lite deck panels interlock with each other to create a form for the concrete floor to be poured above. The foam insulates the floor from the garage below.
Tyler and James pour the elevator shaft.
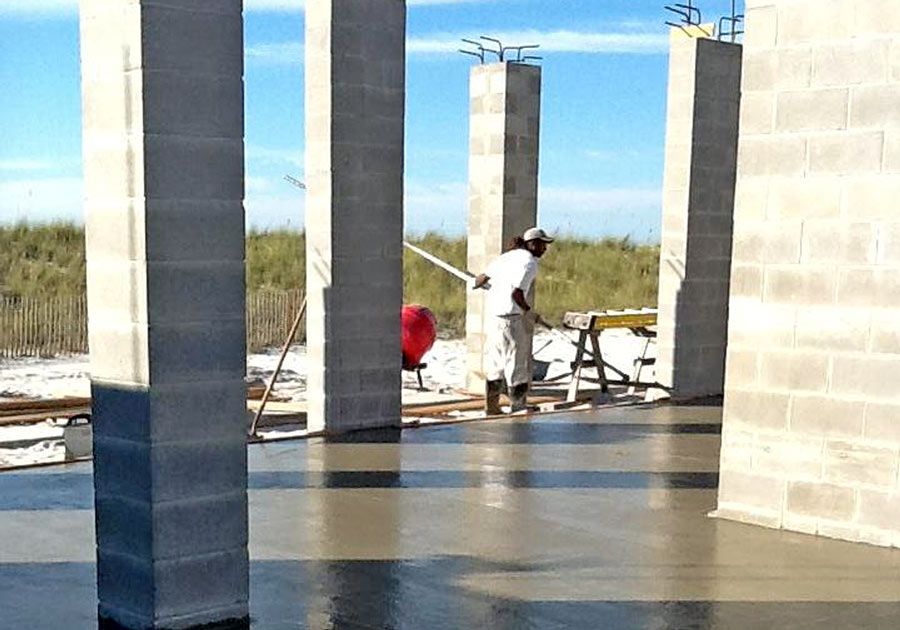
Pouring the garage slab
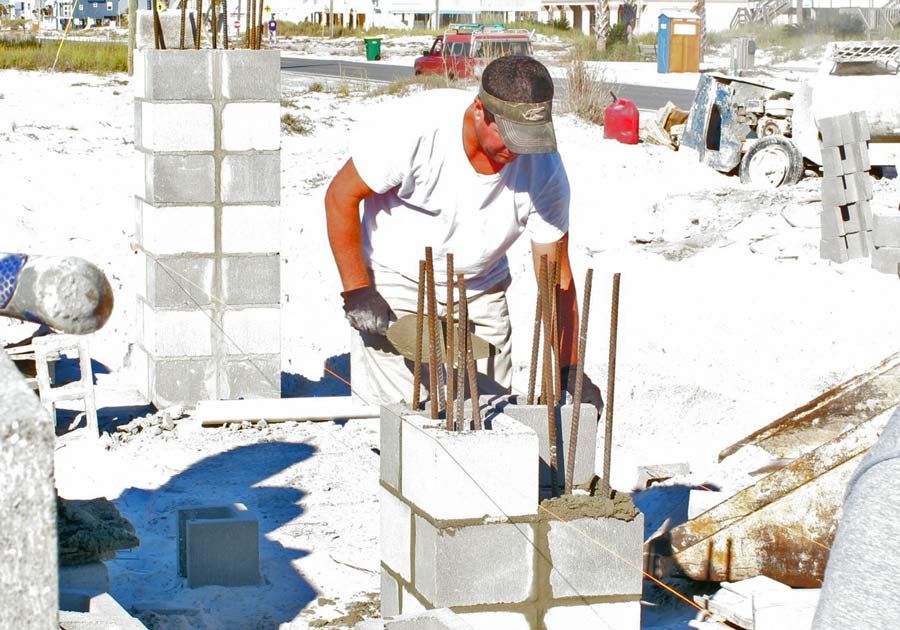
Derek builds up one of the front porch columns.
DJ Fills in between the concrete pile supported beams.
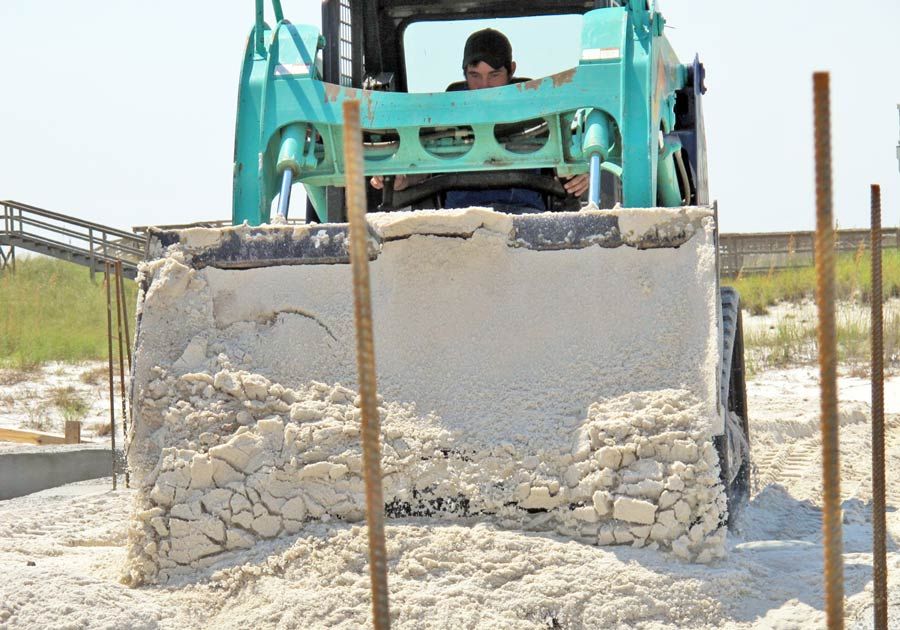
DJ fills in between the pile supported beams with certified white beach sand.
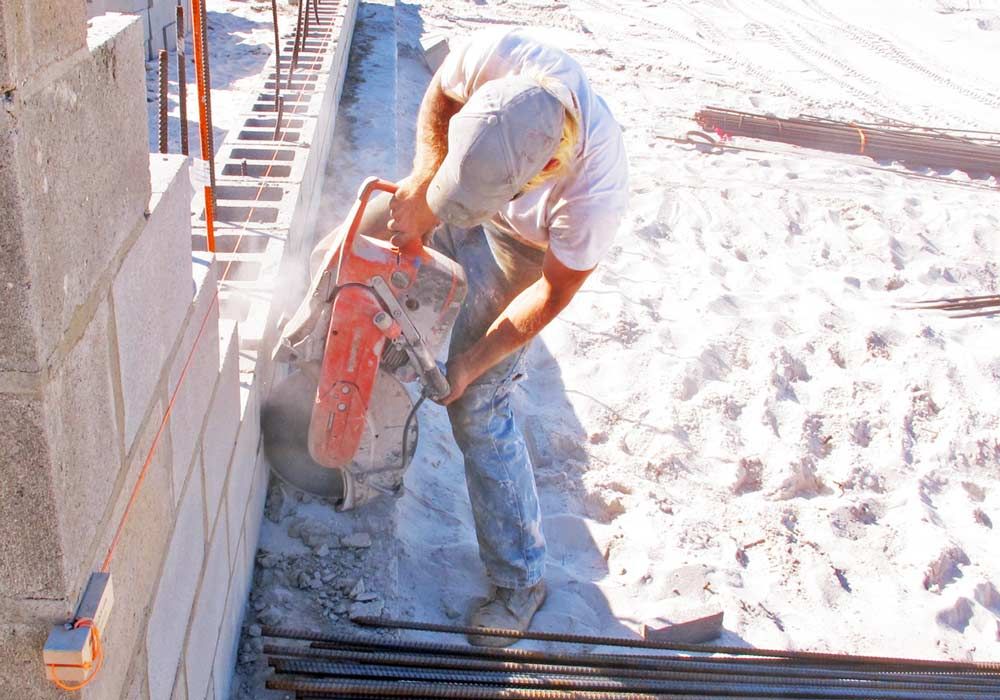
John cuts block in place
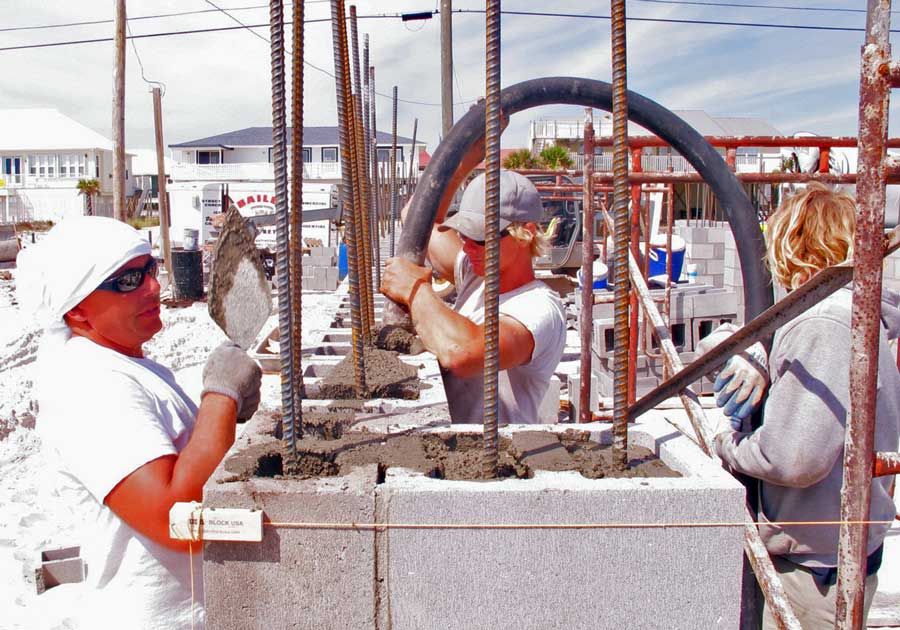
Eric and John fills the garage block walls with concrete.
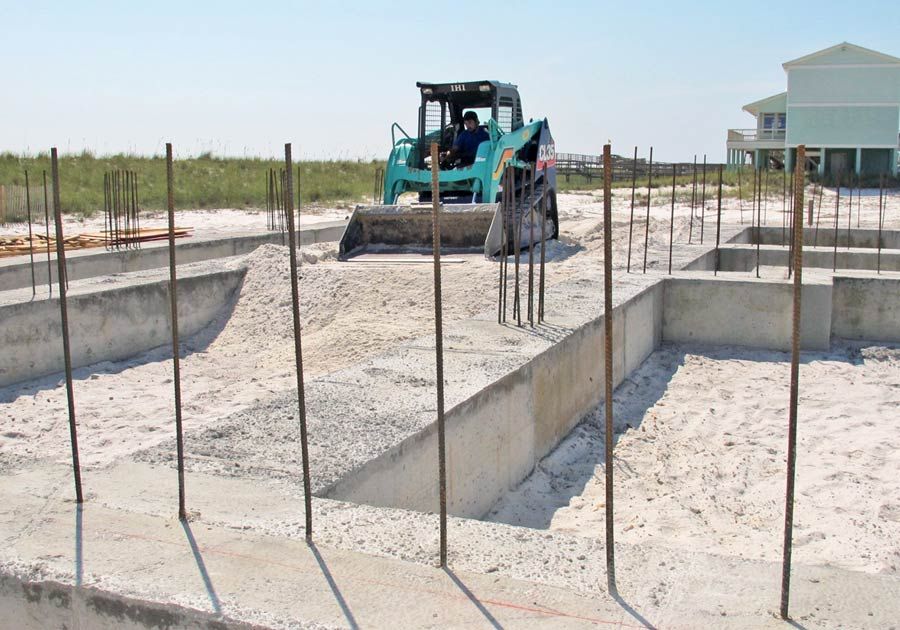
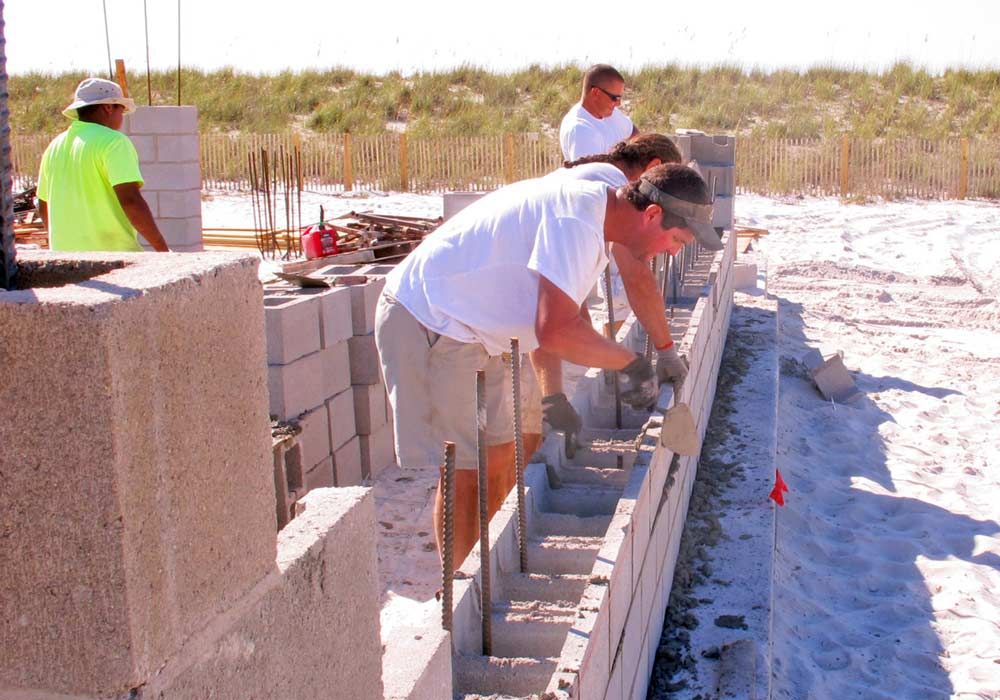
Derek lays up the ground floor garage block walls on top of the pile supported beams below.
James drives form stakes to hold the forms for the grade beams in place. You can see the top of the concrete pilings exposed which will embed into the bottom of the beams.
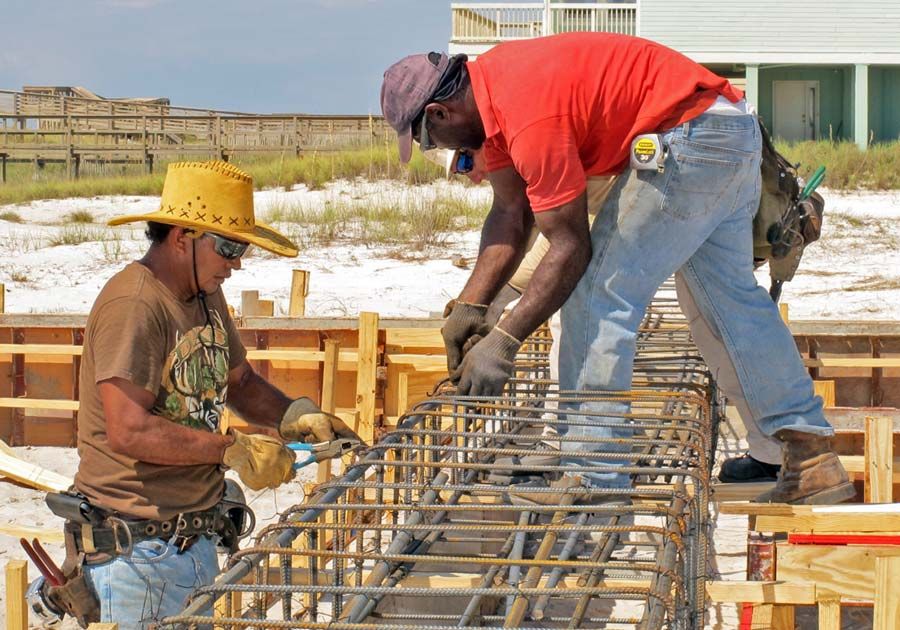
Pancho and James tie the rebars together which will be placed inside the grade beams.
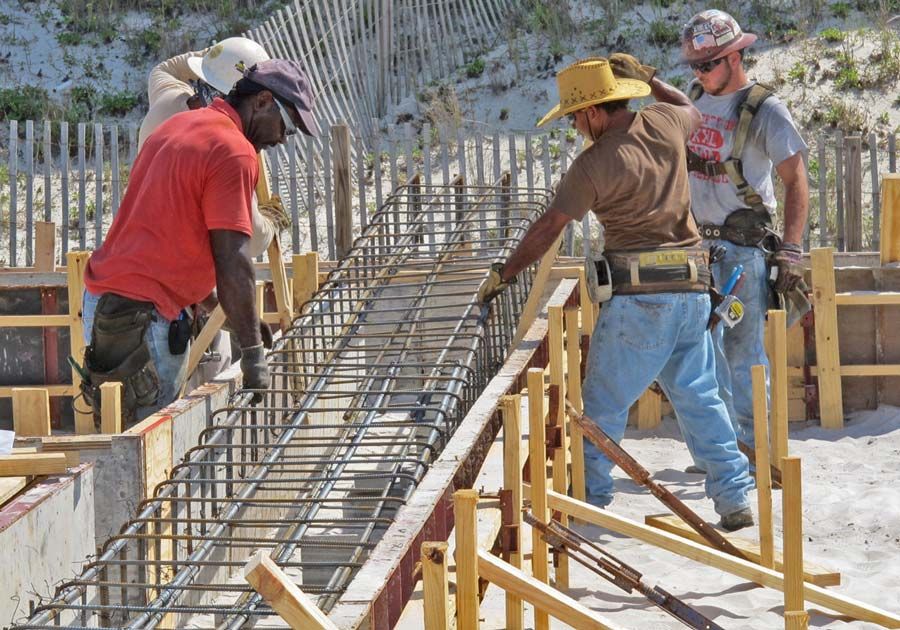
James, Pancho, Moises, and Tyler lower the rebar cage down into the space between grade beam forms.
James uses a prybar to lift the cage up and place bricks on top of the pilings to hold up the rebar cages.
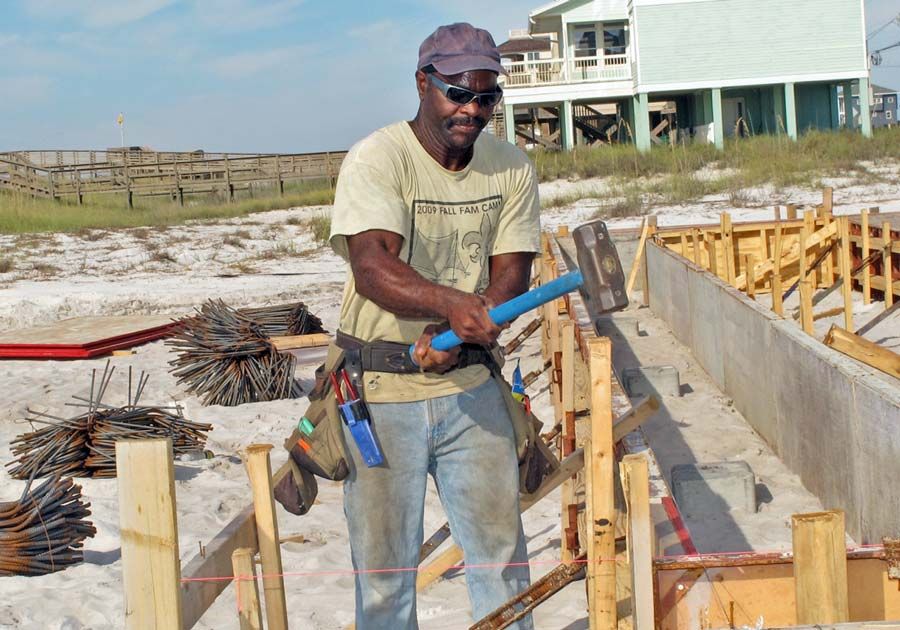
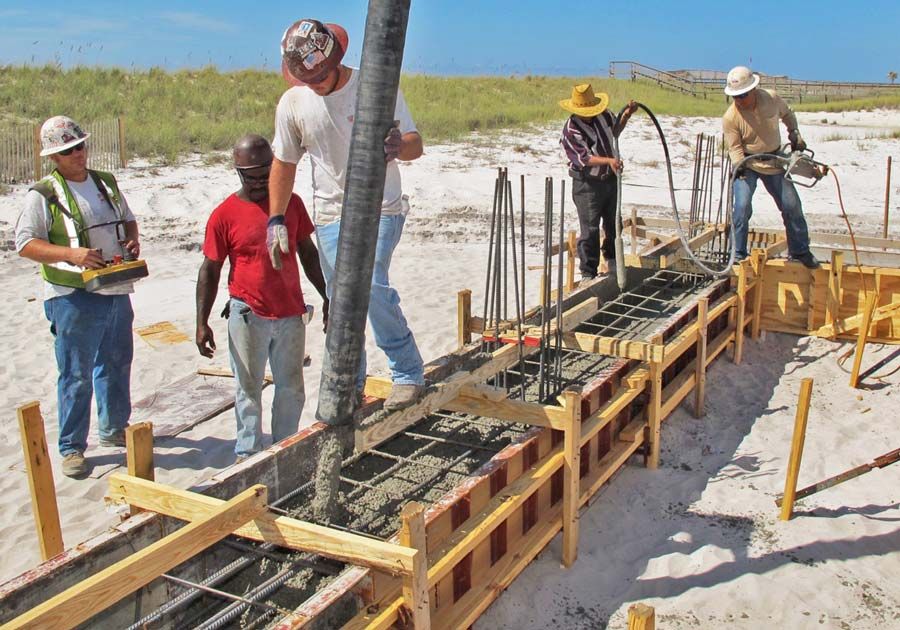
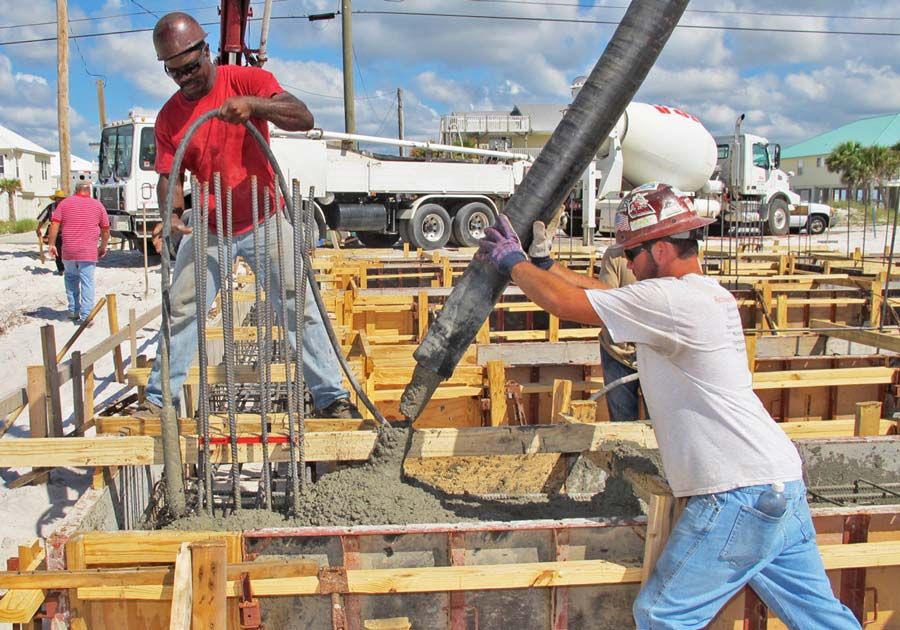
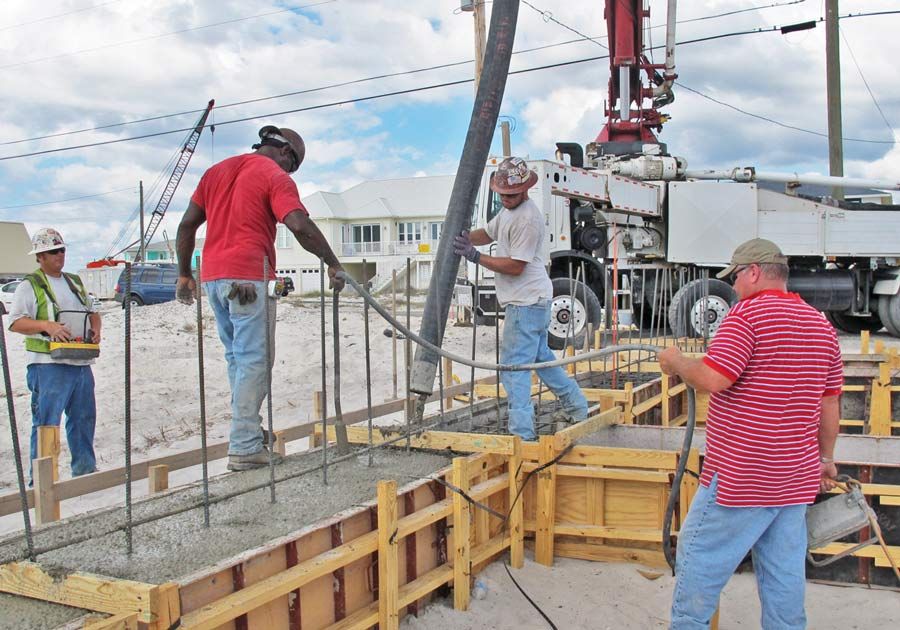
Pouring the grade beams. Tyler places the concrete while Pancho and Moises operate a vibrator in the background which consolidates the concrete. The boom pump operator on the left maneuvers the hose. These beams are supported by the pilings below and will in turn support the walls above.
Tyler pours the concrete while James consolidates the it with a vibrator. You can see the concrete mix truck in the background pouring concrete into the hopper on the back of the boom pump truck.
Tyler pours while James and Todd consolidate with the vibrator.
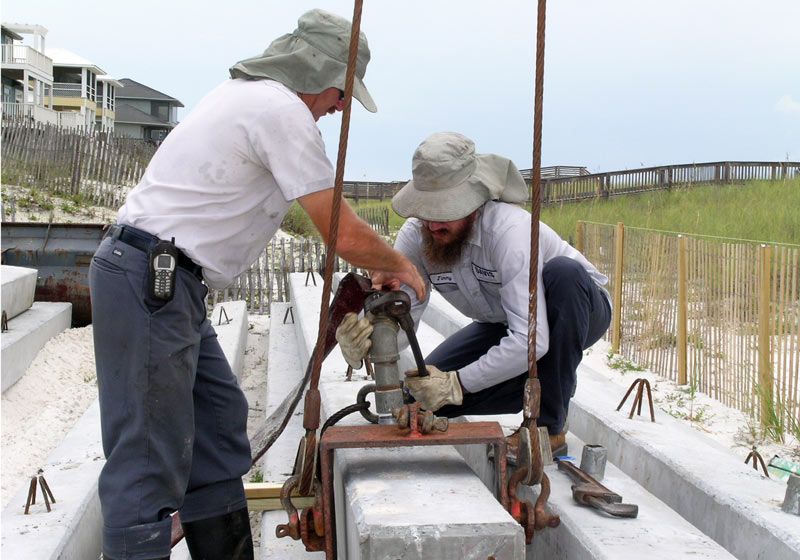
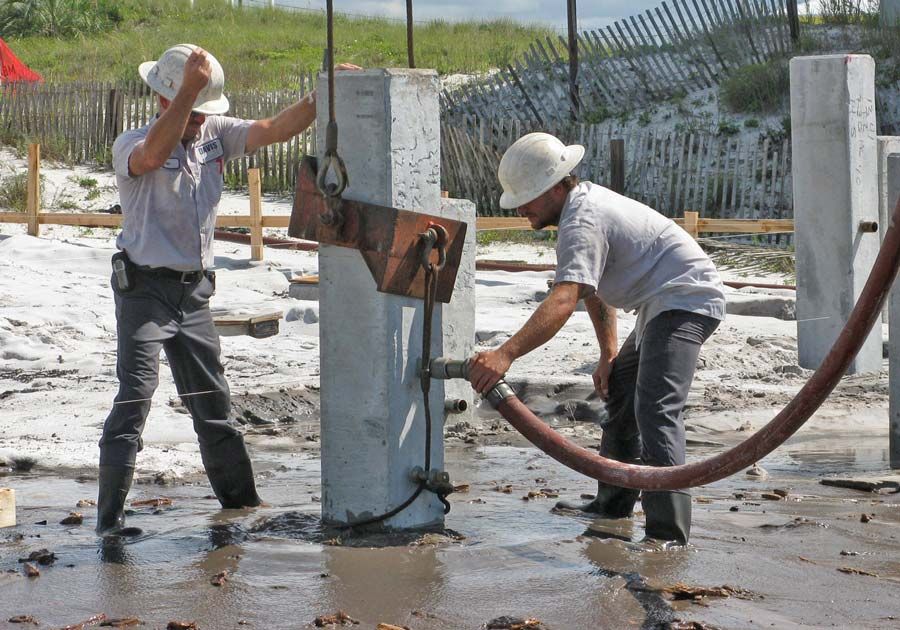
Jim & Kenny with Davis Marine attach the water jet hose to the pipe that feeds down through the middle of the piling.
Piling is lifted into position for jetting.
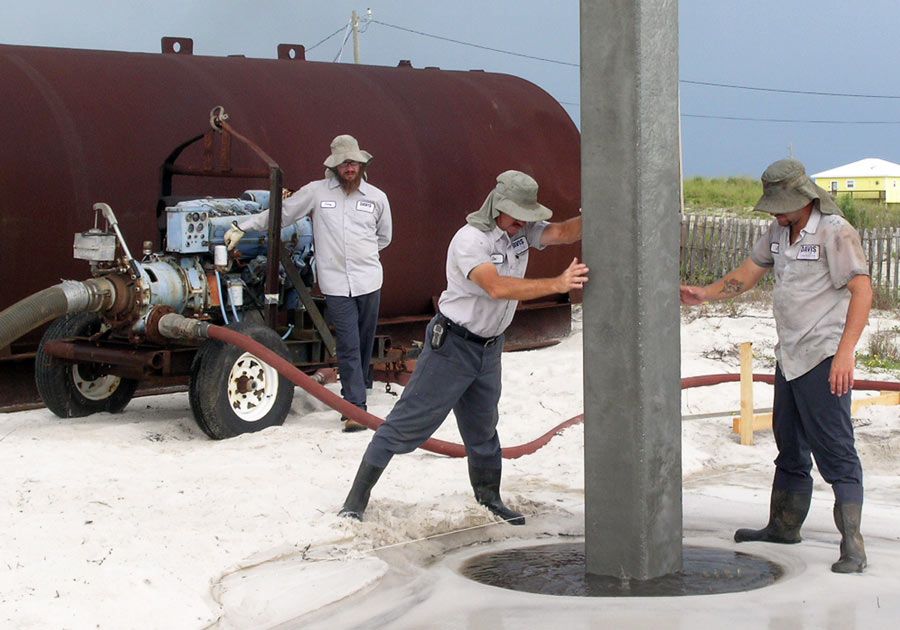
Jim & Jay with Davis Marine guide the concrete pilings as they are being jetted into place. Kenny is operating the high volume pump in the background which pumps water from the holding tank down through a pipe in the middle of the piling. This creates a slurry of sand at the bottom and around the piling which allows the piling to be lowered into place under its own weight.
Jim & Jay finish jetting the piling. It will be hammered down the last 5 feet. You can see the dark brown clay that has washed up below. This is why we had to use 40' pilings. The clay at 25' depth has poor bearing capacity.
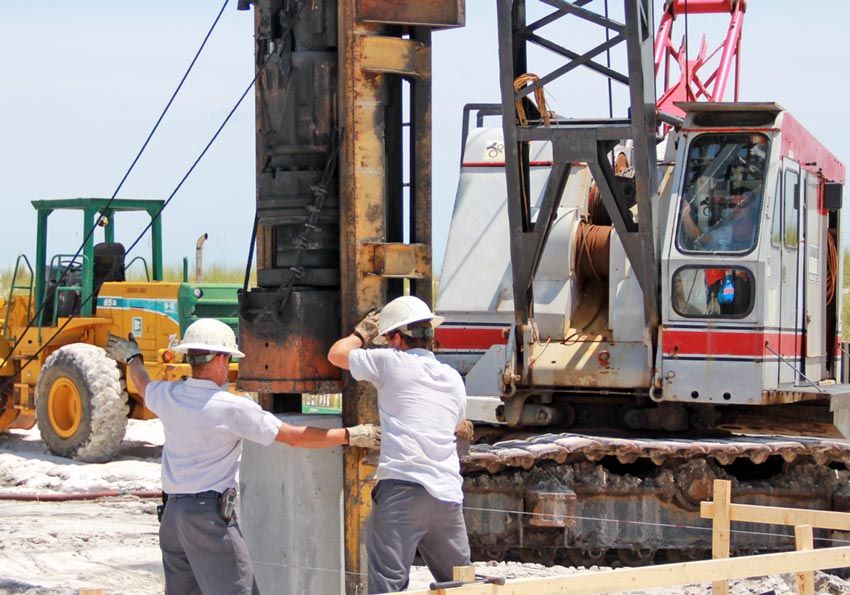
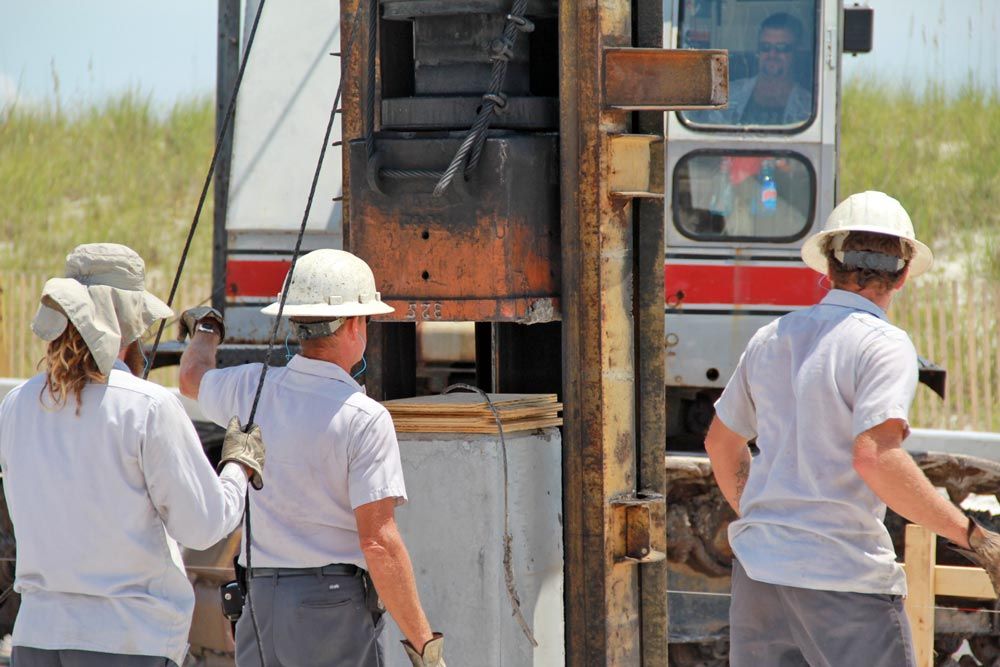
Jim directs the crane operator to position the piling hammer over the butt end of the piling.
Plywood cushions are used to soften the blows from the piling hammer.
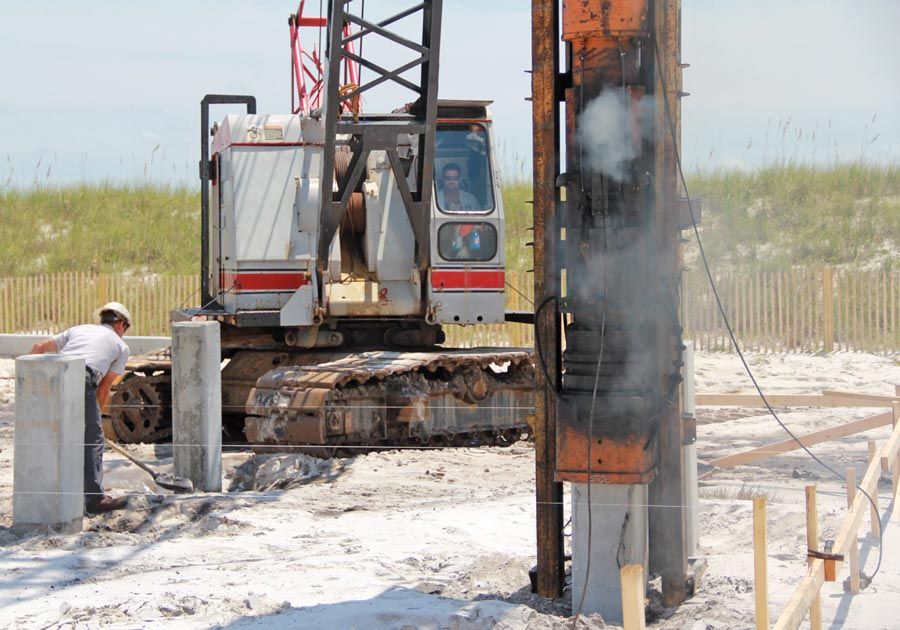
A diesel powered single piston piling hammer is used to drive the pilings their last 5' into the ground. The hammer is set low to 12,000 psi to prevent cracking the pilings. The smoke is diesel exhaust from the power stroke as the piston hammer is blown up about 3'. The piston then falls down onto the top of the piling during the hammer stroke.
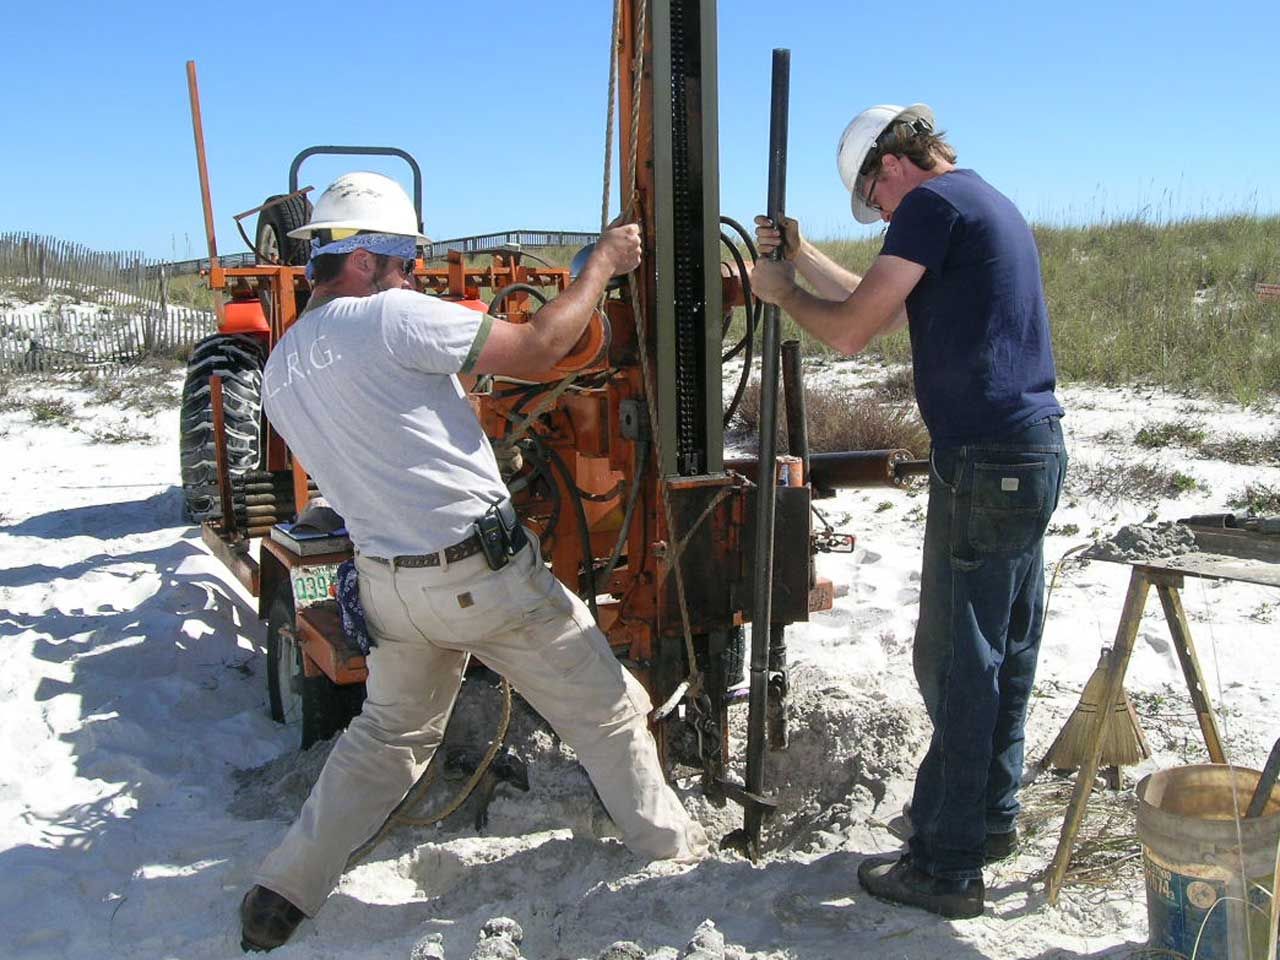
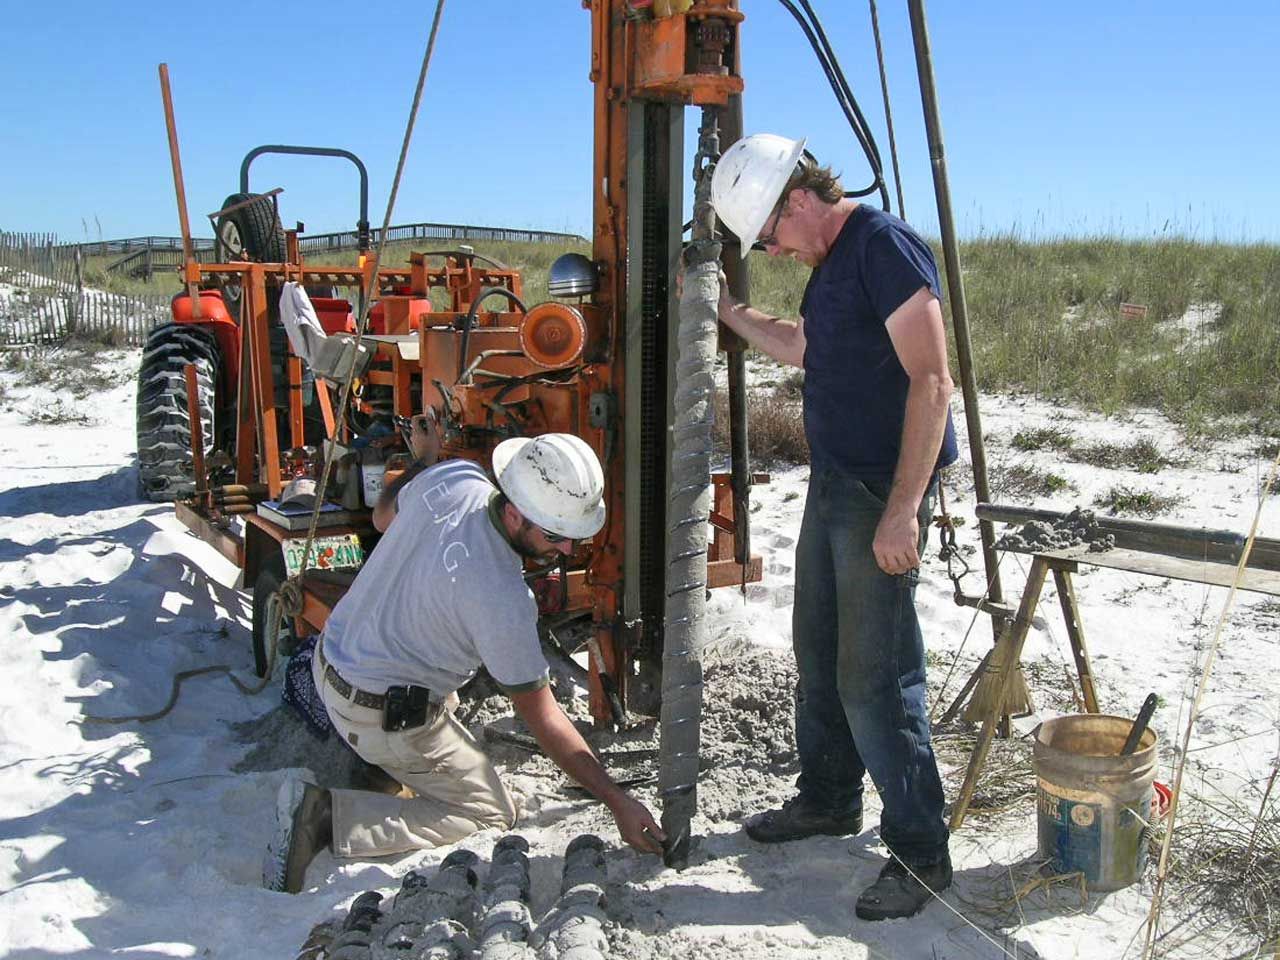
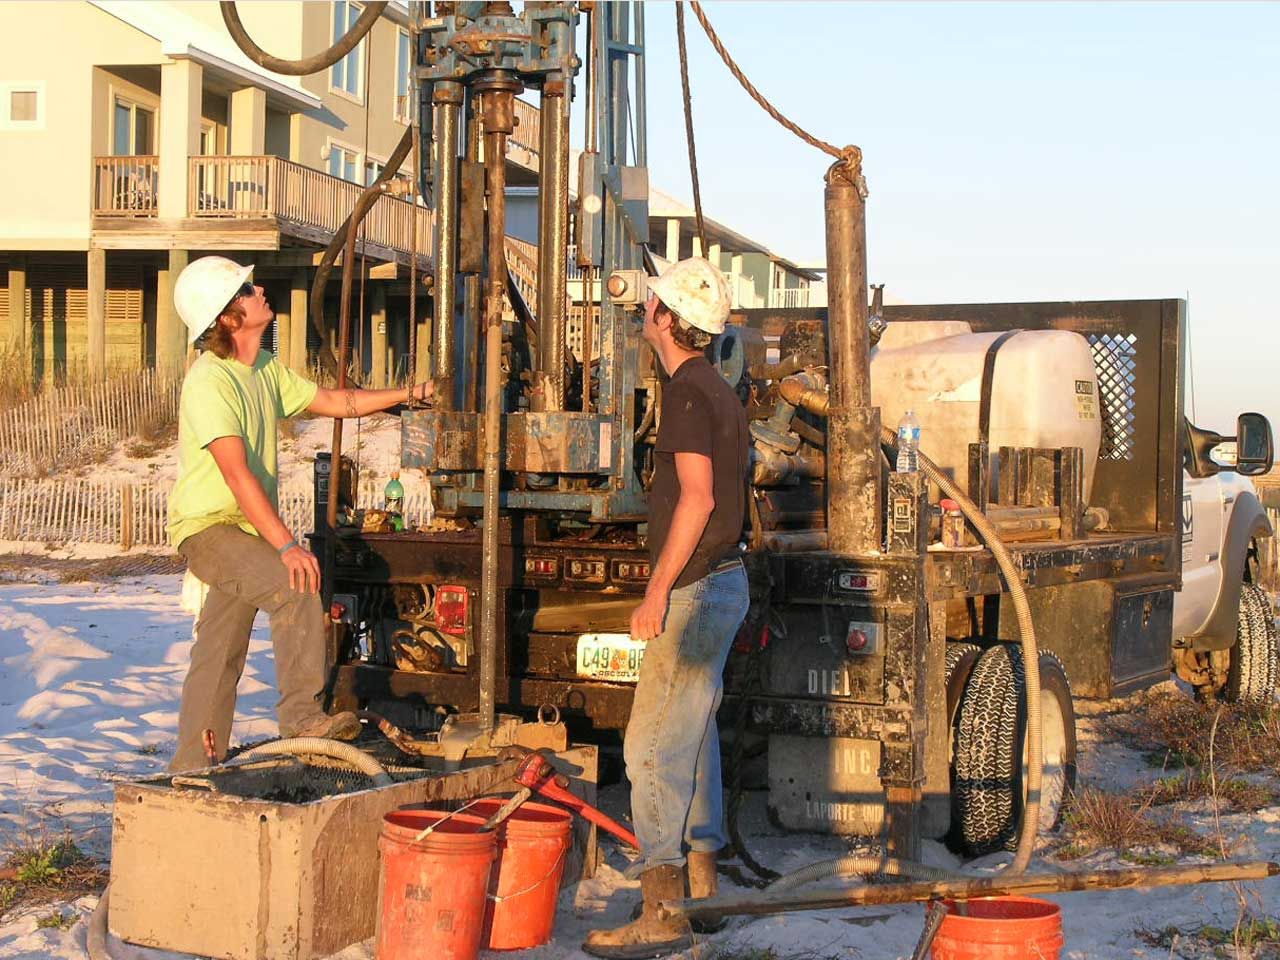
Bobby and JC with Environmental Resource Group operate the drill rig taking soil samples to determine the soil bearing capacity for the pilings.
The last 5' of drill pipe is being pulled out of the hole. Bobby is checking the soil on the drill tip at the 25' depth. You can see the other 5' auger segments laying on the ground.
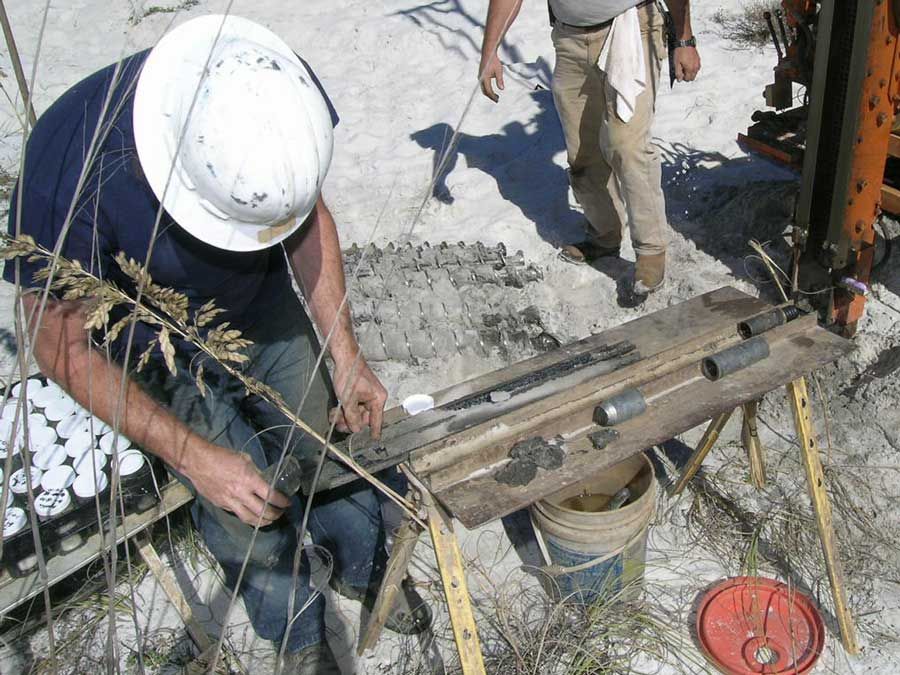
A sampling spoon has been attached to the drill pipe. Bobby is operating a 140 pound hammer which is dropped 30" onto the drill pipe thus driving the spoon into the bottom of the hole. He is counting the number of blows it takes to drive the sampling spoon 6". Three 6" drives are recorded. The sum of the blow count of the last 2 drives is referred to as the N number. The N number along with data from the soil samples is used by the geotechnical engineer to determine the soil bearing capacity at that depth.
The sampling spoon has been split open and JC is putting the soil from the bottom of the spoon into a sample jar for lab analysis. A sample is taken at the 10' depth, then every 5' thereafter.
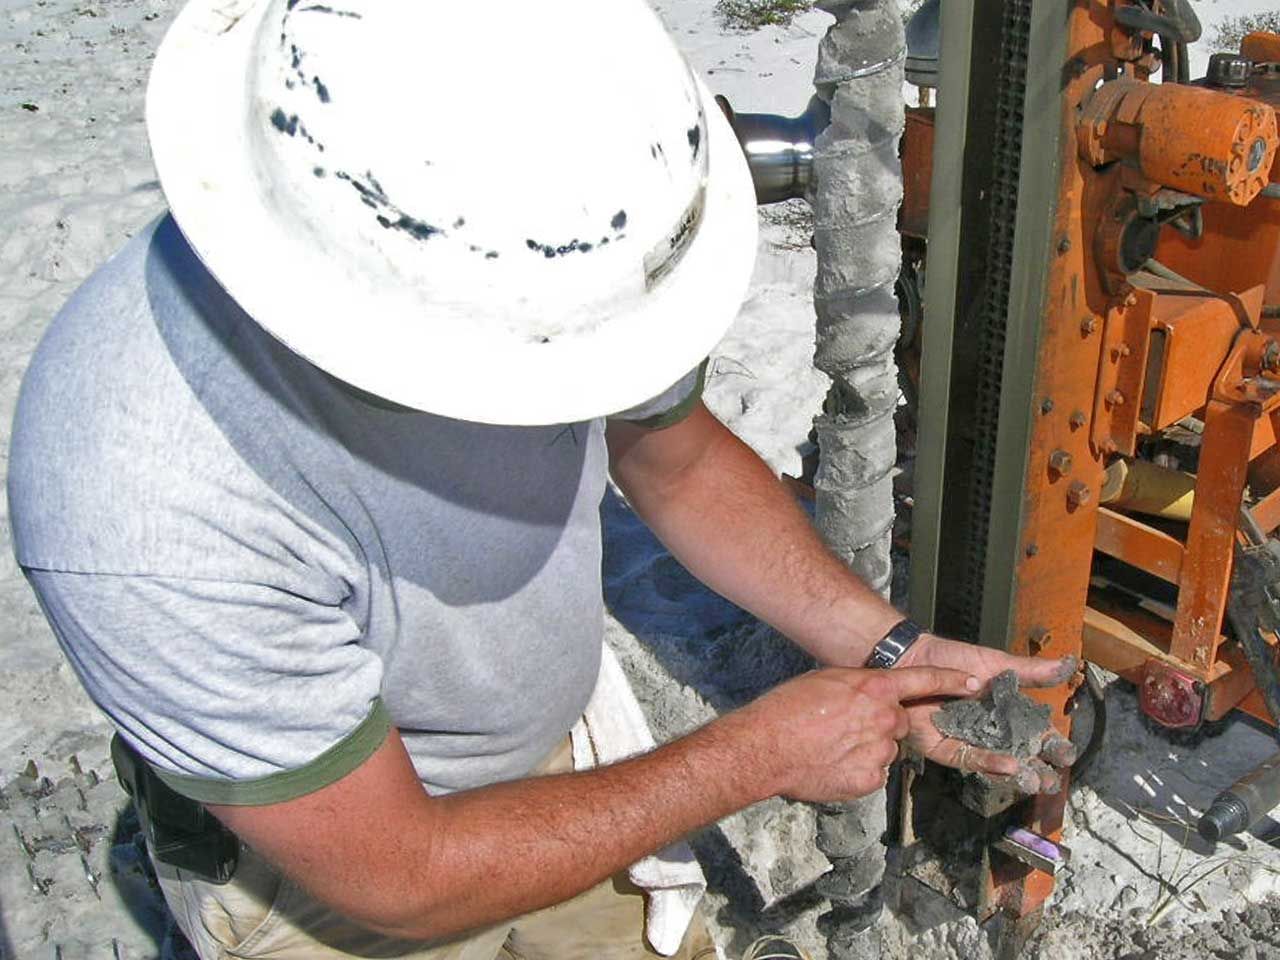
Bobby is pointing out the clay content in this soil at the 25' depth so that means there is diminished bearing capacity for the pilings there. Not good. We're going to have to get a bigger rig to drill deeper to find better bearing soil. Normally it would take 6-8 hammer blows to drive the spoon 6" but when we hit that clay it only took 2 so you can see right there how the clay would reduce the grip on the pilings.
Nick and Roger with Universal Engineering are drilling down to 50' to get past a subsurface layer of clay. We found a 10' layer of clay at 25-35' so it looks like we're going to need 40' pilings.
3 story ICF construction, flood through design will make this home highly flood tolerant.


