Construction Process: Piling foundations


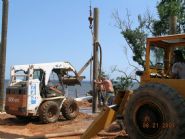
Pilings are jetted into the ground to a depth specified by the engineer.
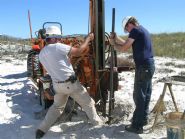
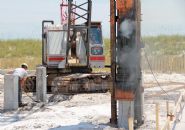
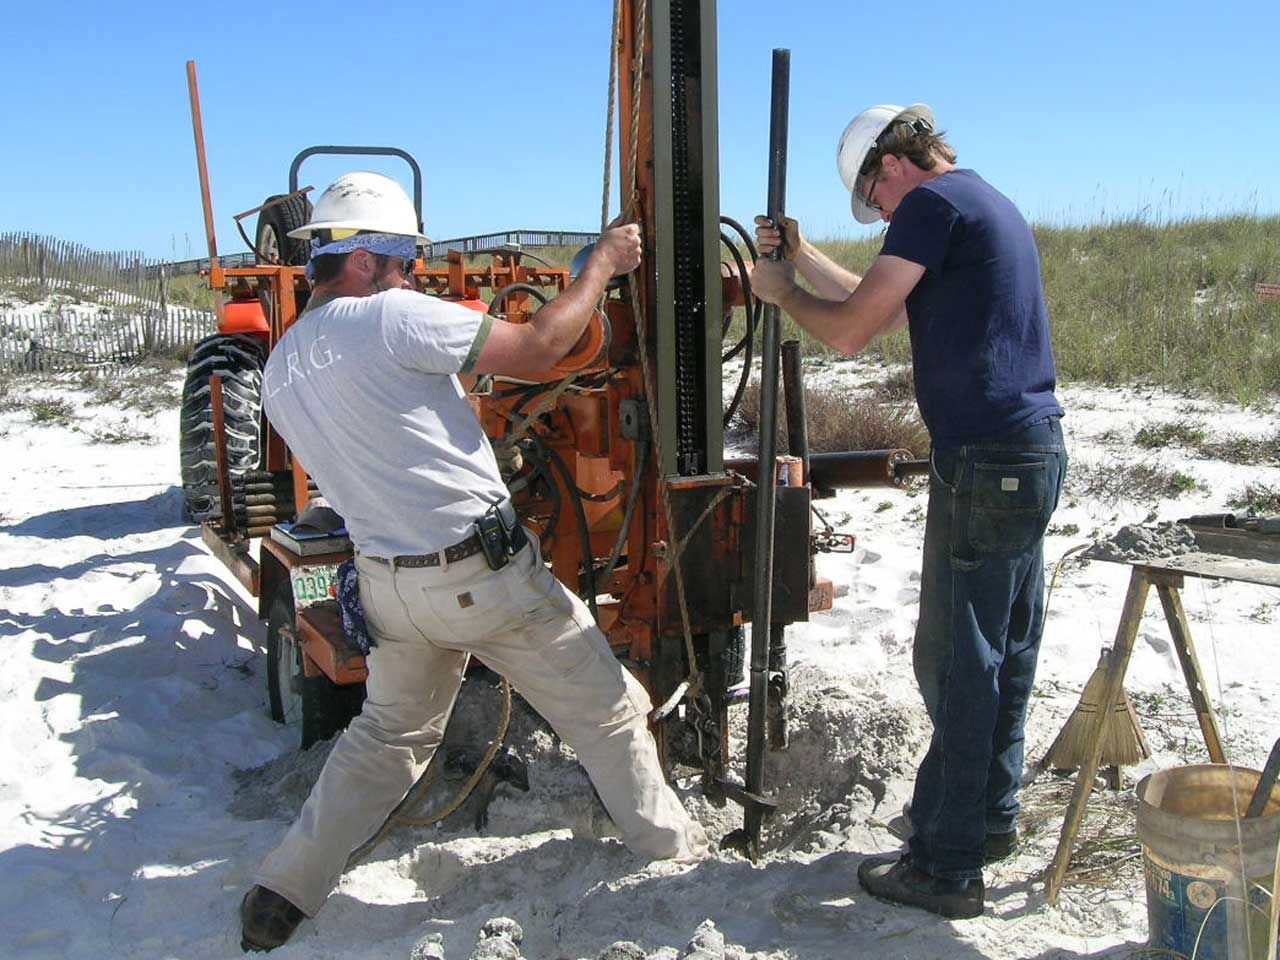
The geotechnical survey is the first step. Test holes are drilled, hammer blows are counted, and samples taken every 5 feet.
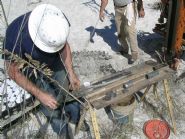
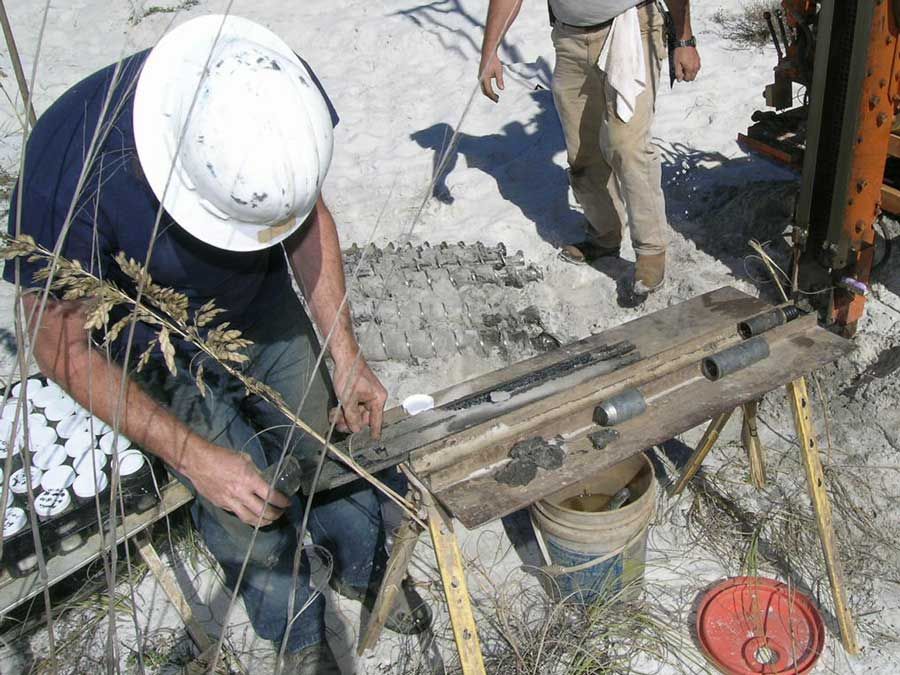
Samples are removed from the split spoon and cataloged every 5'
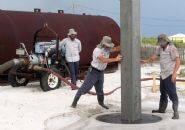
Water can be pumped out of the bay to jet the pilings but normally we have to fill a large tank with water from the nearest fire hydrant.
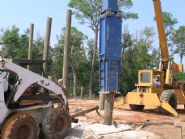
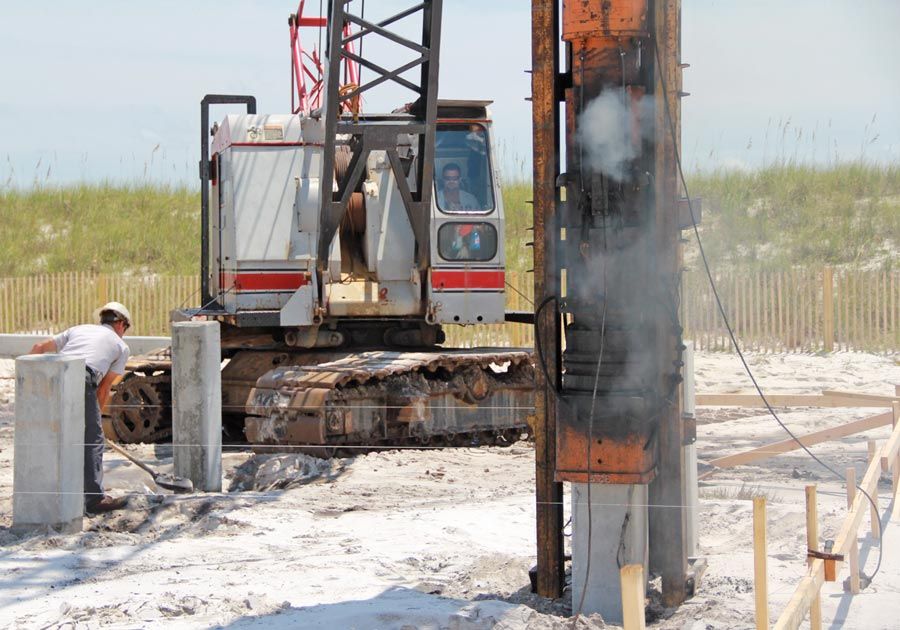
A pile driving hammer is used to pound the pilings into the ground for the last 5-7 feet. The number of hammer blows is recorded and compared with the distance driven to determine the bearing capacity of each piling.
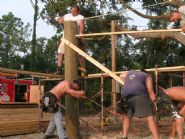
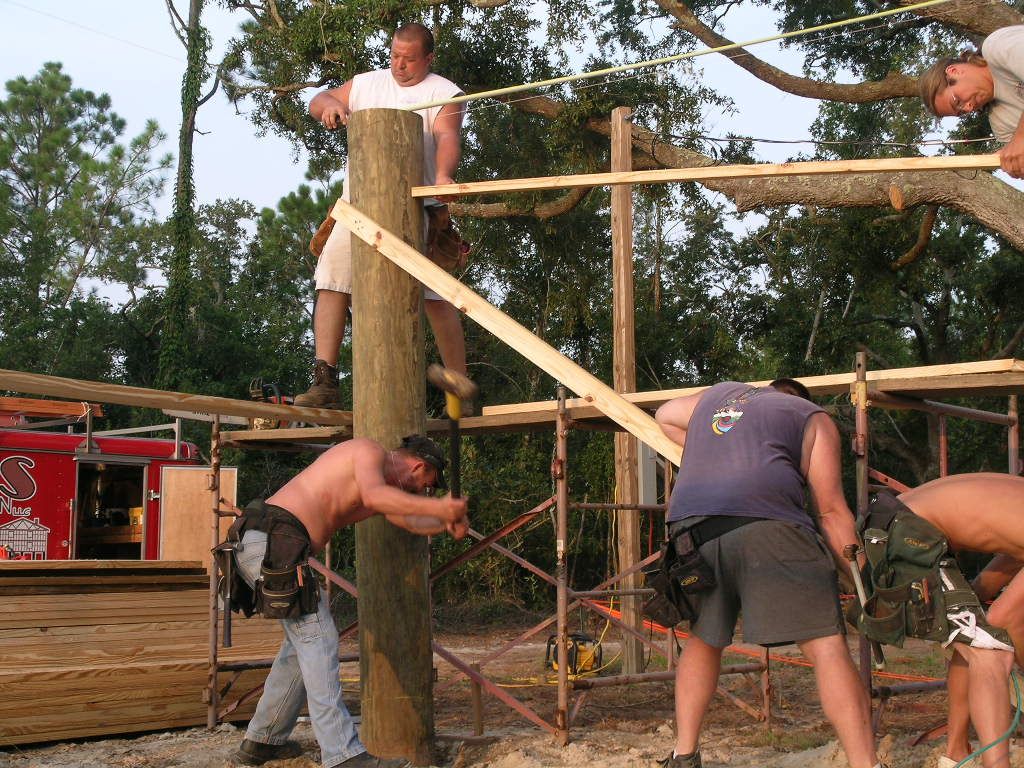
Wood pilings vary in size and are difficult to set precisely so they typically require some hammering and bracing to get them into the correct position. Leroy is checking his measurements to get a perfectly square layout of pilings. This is the first step to getting a square floor system, walls, and roof. An inch out of place here can create headaches for everyone down the line.
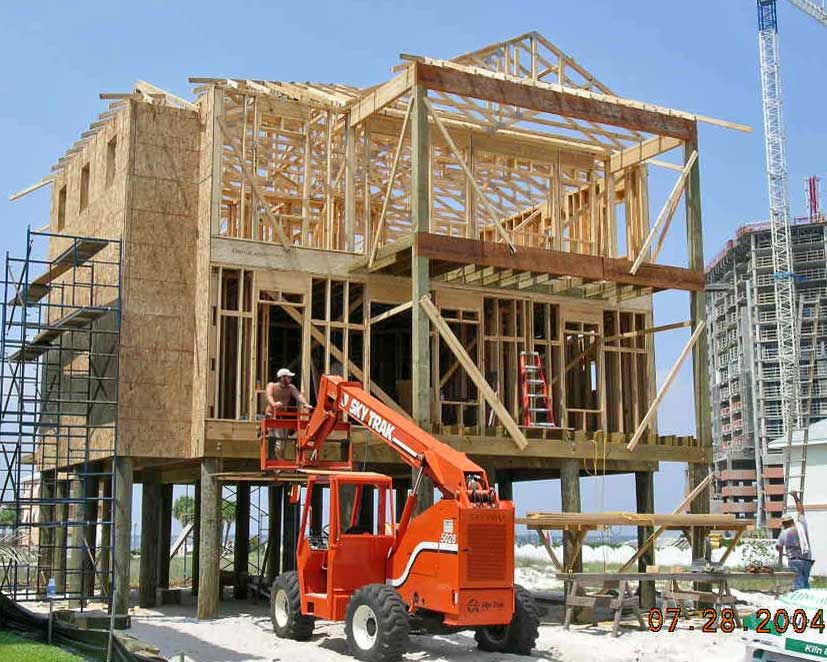
Square piling layout = square floor system = square walls, roof, tile grout lines, trim, etc.
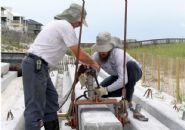
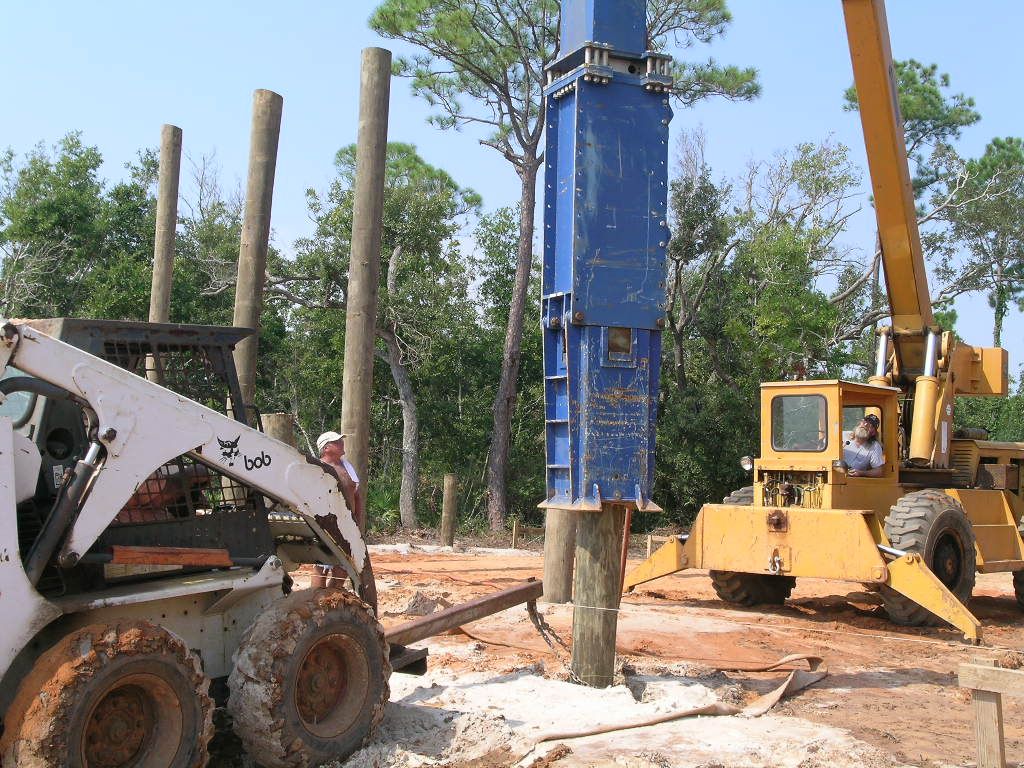
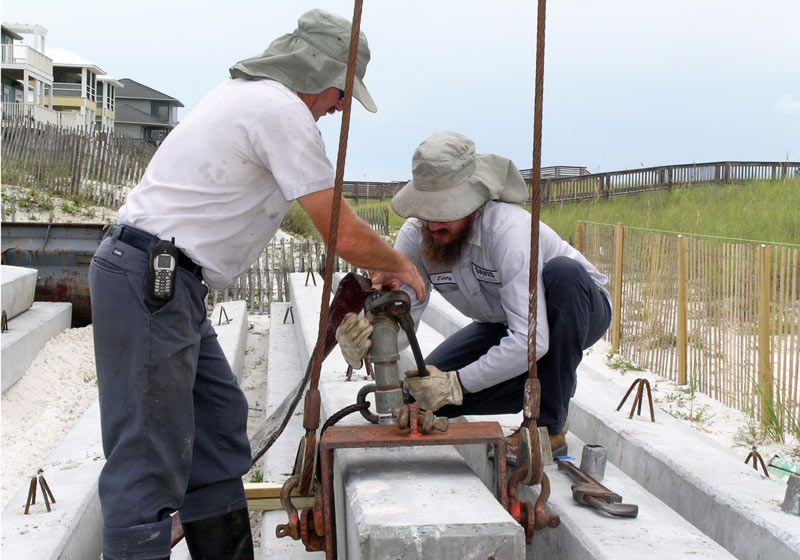
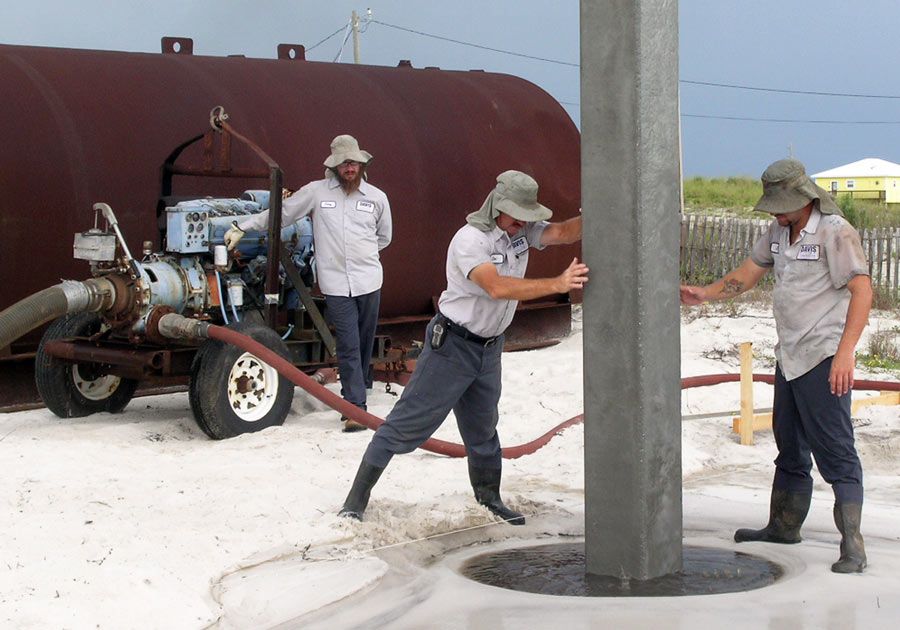
Concrete pilings are more rigid than wood piles. More expensive, too. There is a pipe running down the middle of the concrete pile. The technicians are connecting the jet hose to it so that the jet water will run out the bottom of the piling. This allows them to be set more precisely. Once they're in place they can't be moved.
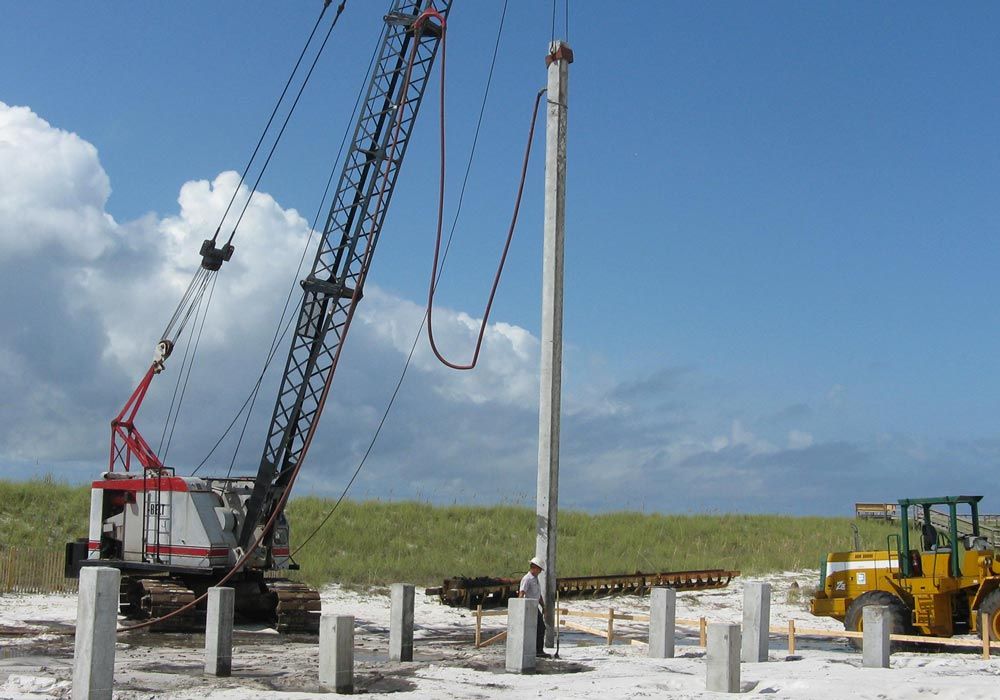
Swinging a concrete piling into place on Navarre Beach.
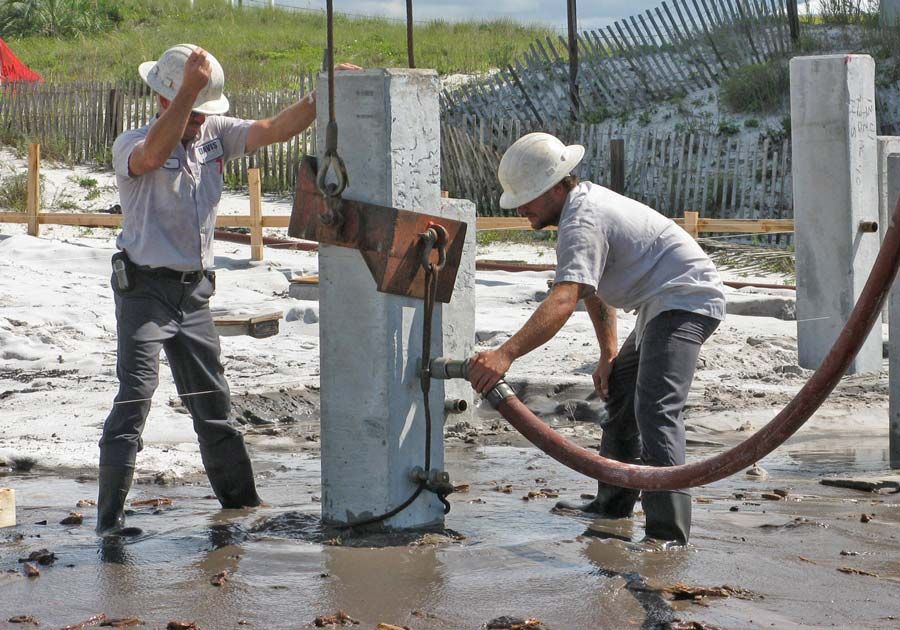
Water is pumped from the holding tank down through a pipe in the middle of the piling while the technicians guide it into position.
You can see the black muck coming up from a layer of subsurface organic material. This was identified by the geotechnical survey which required us to use longer than normal pilings to compensate for the reduced bearing capacity of these soils.
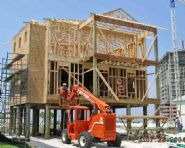
The last step is to hammer the pilings down their final five feet. In this case we'll be forming up pile caps and beams which will bear on the pilings.